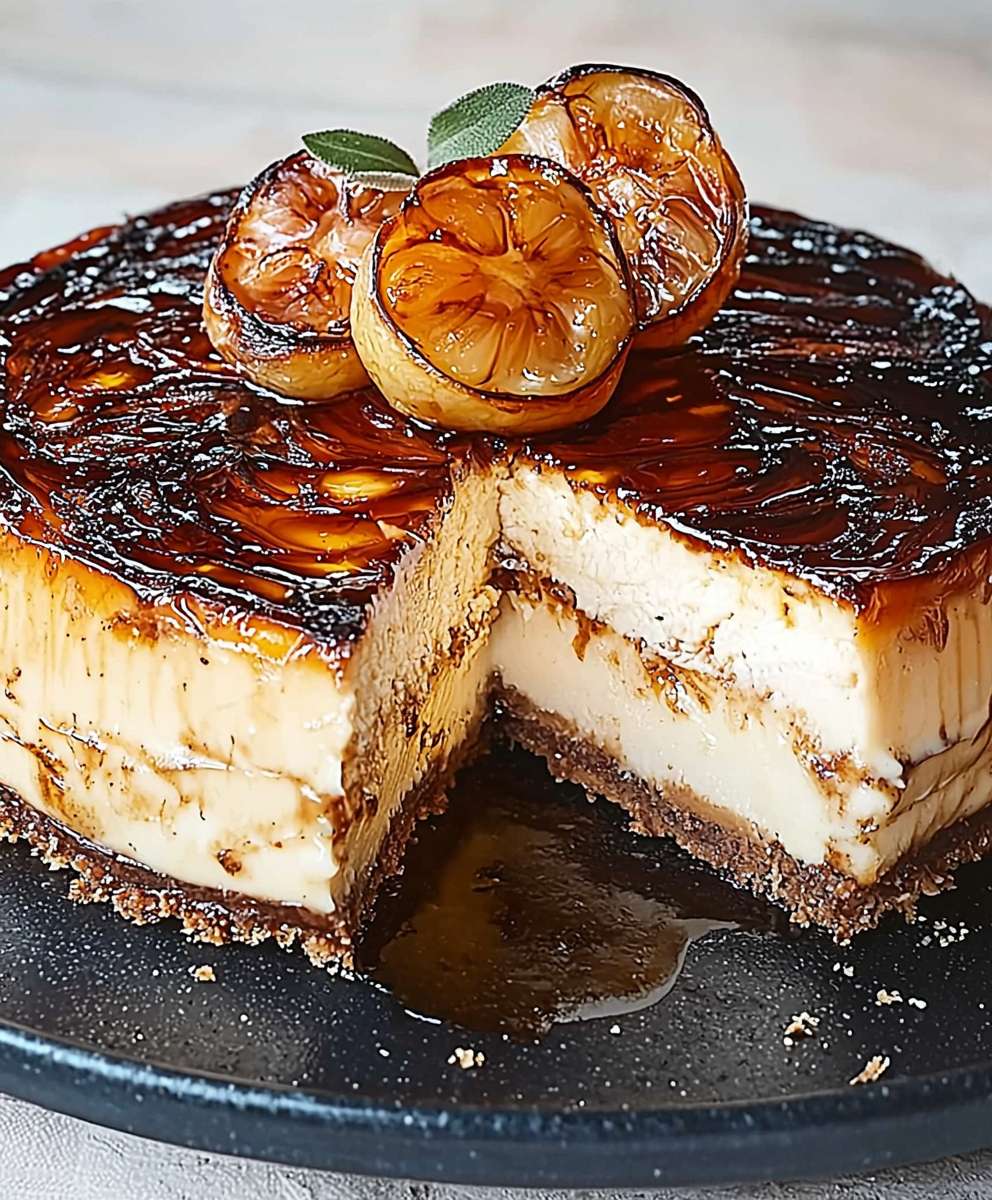
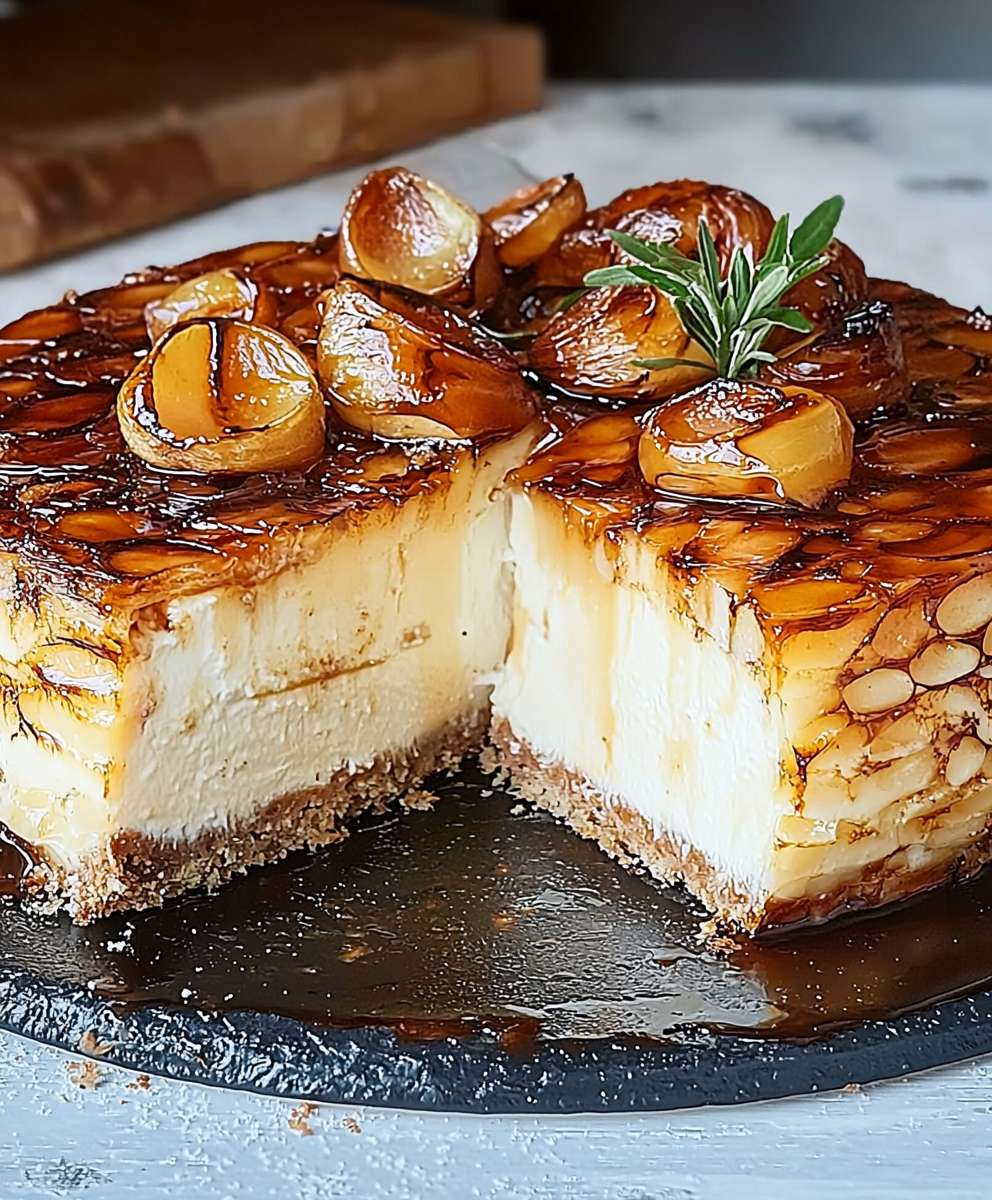
Bee sting cake, or Bienenstich as it’s known in Germany, is a dessert that’s as intriguing as it is delicious. Imagine sinking your teeth into a sweet, yeasted dough, topped with a crunchy, caramelized almond topping and filled with a luscious vanilla cream. Sounds heavenly, right? This isn’t just any cake; it’s a culinary experience that will transport you straight to a German Konditorei.
The history of bee sting cake is shrouded in a delightful legend. It’s said that bakers from the town of Linz am Rhein threw beehives at raiders from the neighboring town of Andernach in the 15th century, successfully warding them off. To celebrate their victory, they baked this now-iconic cake! Whether the story is true or not, it adds a certain charm to every slice.
But what makes Bienenstich so irresistible? It’s the perfect combination of textures and flavors. The slightly chewy, bread-like base contrasts beautifully with the crisp, honeyed almonds. And that creamy vanilla filling? It’s the element that ties everything together, creating a symphony of sweetness that’s not overly rich. People adore this cake because it’s both comforting and sophisticated, a delightful treat for any occasion. Plus, while it might seem intimidating, with our easy-to-follow recipe, you’ll be enjoying your own homemade bee sting cake in no time!
Ingredients:
- For the Dough:
- 300g (2 1/2 cups) all-purpose flour, plus extra for dusting
- 75g (1/3 cup) granulated sugar
- 1 package (7g or 2 1/4 teaspoons) active dry yeast
- 150ml (2/3 cup) lukewarm milk
- 1 large egg
- 60g (1/4 cup) unsalted butter, softened
- 1/2 teaspoon salt
- For the Topping:
- 100g (1/2 cup) unsalted butter
- 100g (1/2 cup) granulated sugar
- 2 tablespoons honey
- 100ml (1/3 cup + 1 tablespoon) heavy cream
- 150g (1 cup) sliced almonds
- For the Filling:
- 500ml (2 cups) heavy cream
- 2 tablespoons powdered sugar
- 1 teaspoon vanilla extract
Preparing the Dough:
- Activate the Yeast: In a small bowl, combine the lukewarm milk and granulated sugar. Sprinkle the active dry yeast over the top. Let it sit for 5-10 minutes, or until the yeast is foamy. This indicates that the yeast is active and ready to use. If it doesn’t foam, your yeast might be old and you’ll need to start over with fresh yeast.
- Combine Dry Ingredients: In a large mixing bowl, whisk together the flour and salt.
- Add Wet Ingredients: Make a well in the center of the dry ingredients. Pour in the yeast mixture, the egg, and the softened butter.
- Knead the Dough: Using a stand mixer with a dough hook attachment (or your hands), knead the dough for 8-10 minutes until it becomes smooth and elastic. If kneading by hand, turn the dough out onto a lightly floured surface and knead until it reaches the same consistency. The dough should be slightly sticky but not unmanageable. If it’s too sticky, add a tablespoon of flour at a time until it reaches the right consistency.
- First Rise: Place the dough in a lightly oiled bowl, turning to coat. Cover the bowl with plastic wrap or a clean kitchen towel. Let it rise in a warm place for 1-1.5 hours, or until doubled in size. This is a crucial step for developing the flavor and texture of the cake.
Preparing the Topping:
- Melt the Butter: In a medium saucepan, melt the butter over medium heat.
- Add Sugar and Honey: Stir in the granulated sugar and honey. Cook, stirring constantly, until the sugar is dissolved and the mixture is smooth.
- Add Cream: Gradually pour in the heavy cream, stirring constantly to prevent curdling.
- Simmer: Bring the mixture to a simmer and cook for 2-3 minutes, stirring occasionally, until it thickens slightly.
- Add Almonds: Remove the saucepan from the heat and stir in the sliced almonds. Set aside to cool slightly.
Assembling and Baking:
- Preheat Oven: Preheat your oven to 350°F (175°C). Grease and flour a 9-inch springform pan. This will prevent the cake from sticking and make it easier to remove after baking.
- Punch Down the Dough: Once the dough has doubled in size, gently punch it down to release the air.
- Roll Out the Dough: Turn the dough out onto a lightly floured surface. Roll it out into a circle slightly larger than the diameter of your springform pan.
- Transfer to Pan: Carefully transfer the dough to the prepared springform pan. Press it evenly into the bottom of the pan, ensuring it reaches the edges.
- Second Rise: Cover the dough in the pan with a clean kitchen towel and let it rise for another 20-30 minutes. This second rise will give the cake a lighter texture.
- Spread the Topping: Gently spread the almond topping evenly over the dough in the pan. Make sure the topping covers the entire surface.
- Bake: Bake in the preheated oven for 25-30 minutes, or until the topping is golden brown and the dough is cooked through. A toothpick inserted into the center of the dough should come out clean.
- Cool: Let the cake cool in the pan for 10-15 minutes before releasing it from the springform pan. Transfer it to a wire rack to cool completely.
Preparing the Filling:
- Chill the Bowl and Whisk: Place your mixing bowl and whisk (or whisk attachment for your stand mixer) in the freezer for 15-20 minutes. This will help the cream whip up faster and hold its shape better.
- Whip the Cream: Pour the heavy cream into the chilled bowl. Beat with the whisk or whisk attachment on medium speed until soft peaks form.
- Add Sugar and Vanilla: Gradually add the powdered sugar and vanilla extract. Continue beating until stiff peaks form. Be careful not to overwhip, as this can turn the cream into butter.
Assembling the Cake:
- Cut the Cake: Using a long, serrated knife, carefully slice the cooled cake horizontally into two even layers.
- Spread the Filling: Spread the whipped cream filling evenly over the bottom layer of the cake.
- Replace the Top Layer: Gently place the top layer of the cake back on top of the filling.
- Chill: Refrigerate the assembled cake for at least 30 minutes before serving. This will allow the filling to set and the flavors to meld together.
- Serve: Slice and serve the Bee Sting Cake. Enjoy! It’s best served fresh, but leftovers can be stored in the refrigerator for up to 2 days.

Conclusion:
This bee sting cake, or Bienenstich as it’s known in Germany, is truly a must-try for anyone who appreciates a delightful combination of textures and flavors. The soft, yeasty cake base, the creamy vanilla custard filling, and the crunchy, honey-almond topping create a symphony of sensations that will leave you wanting more. It’s not just a cake; it’s an experience, a journey to a German bakery right in your own kitchen.
I know, I know, baking can sometimes seem intimidating, but trust me, this recipe is more approachable than it looks. I’ve broken down each step to be as clear and concise as possible, and the reward is absolutely worth the effort. Imagine the look on your family’s faces when you present them with this stunning creation!
Why is this bee sting cake a must-try? Because it’s:
* Uniquely delicious: The combination of flavors is unlike anything you’ve probably tasted before.
* Impressive yet achievable: It looks fancy, but the recipe is straightforward.
* Perfect for any occasion: From birthdays to holidays to a simple Sunday afternoon treat, it’s always a hit.
* A conversation starter: Everyone will be asking you for the recipe!
Now, let’s talk about serving suggestions and variations. While this cake is absolutely divine on its own, there are a few ways you can elevate the experience even further.
* Serving Suggestions: A slice of bee sting cake pairs perfectly with a scoop of vanilla ice cream or a dollop of whipped cream. A cup of strong coffee or a glass of cold milk also complements the flavors beautifully. For a more sophisticated touch, try serving it with a dessert wine like a Riesling or a Gewürztraminer.
* Variations: Feel free to experiment with the filling. You could add a touch of lemon zest to the custard for a brighter flavor, or incorporate some chopped nuts for added texture. If you’re feeling adventurous, try using a different type of nut for the topping, such as pecans or walnuts. You could even add a layer of fruit, like sliced peaches or berries, between the cake and the custard. For a chocolate twist, consider adding cocoa powder to the cake batter or drizzling melted chocolate over the almond topping.
Don’t be afraid to get creative and make this recipe your own! Baking is all about experimentation and finding what works best for you.
I truly believe that this bee sting cake will become a new favorite in your household. It’s a recipe that’s sure to impress and delight, and I can’t wait to hear about your experiences making it.
So, what are you waiting for? Gather your ingredients, preheat your oven, and get ready to embark on a baking adventure. I’m confident that you’ll be thrilled with the results.
Once you’ve tried this recipe, please come back and share your thoughts in the comments below. I’d love to hear about your variations, your serving suggestions, and any tips or tricks you discovered along the way. Happy baking! I am excited to see your creations.
Bee Sting Cake: The Ultimate Recipe and Baking Guide
A classic Bee Sting Cake (Bienenstich) featuring a sweet yeast dough, a crunchy almond-honey topping, and a luscious whipped cream filling.
Ingredients
- 300g (2 1/2 cups) all-purpose flour, plus extra for dusting
- 75g (1/3 cup) granulated sugar
- 1 package (7g or 2 1/4 teaspoons) active dry yeast
- 150ml (2/3 cup) lukewarm milk
- 1 large egg
- 60g (1/4 cup) unsalted butter, softened
- 1/2 teaspoon salt
- 100g (1/2 cup) unsalted butter
- 100g (1/2 cup) granulated sugar
- 2 tablespoons honey
- 100ml (1/3 cup + 1 tablespoon) heavy cream
- 150g (1 cup) sliced almonds
- 500ml (2 cups) heavy cream
- 2 tablespoons powdered sugar
- 1 teaspoon vanilla extract
Instructions
- Preparing the Dough:
- Activate the Yeast: In a small bowl, combine the lukewarm milk and granulated sugar. Sprinkle the active dry yeast over the top. Let it sit for 5-10 minutes, or until the yeast is foamy. This indicates that the yeast is active and ready to use. If it doesn’t foam, your yeast might be old and you’ll need to start over with fresh yeast.
- Combine Dry Ingredients: In a large mixing bowl, whisk together the flour and salt.
- Add Wet Ingredients: Make a well in the center of the dry ingredients. Pour in the yeast mixture, the egg, and the softened butter.
- Knead the Dough: Using a stand mixer with a dough hook attachment (or your hands), knead the dough for 8-10 minutes until it becomes smooth and elastic. If kneading by hand, turn the dough out onto a lightly floured surface and knead until it reaches the same consistency. The dough should be slightly sticky but not unmanageable. If it’s too sticky, add a tablespoon of flour at a time until it reaches the right consistency.
- First Rise: Place the dough in a lightly oiled bowl, turning to coat. Cover the bowl with plastic wrap or a clean kitchen towel. Let it rise in a warm place for 1-1.5 hours, or until doubled in size. This is a crucial step for developing the flavor and texture of the cake.
- Preparing the Topping:
- Melt the Butter: In a medium saucepan, melt the butter over medium heat.
- Add Sugar and Honey: Stir in the granulated sugar and honey. Cook, stirring constantly, until the sugar is dissolved and the mixture is smooth.
- Add Cream: Gradually pour in the heavy cream, stirring constantly to prevent curdling.
- Simmer: Bring the mixture to a simmer and cook for 2-3 minutes, stirring occasionally, until it thickens slightly.
- Add Almonds: Remove the saucepan from the heat and stir in the sliced almonds. Set aside to cool slightly.
- Assembling and Baking:
- Preheat Oven: Preheat your oven to 350°F (175°C). Grease and flour a 9-inch springform pan. This will prevent the cake from sticking and make it easier to remove after baking.
- Punch Down the Dough: Once the dough has doubled in size, gently punch it down to release the air.
- Roll Out the Dough: Turn the dough out onto a lightly floured surface. Roll it out into a circle slightly larger than the diameter of your springform pan.
- Transfer to Pan: Carefully transfer the dough to the prepared springform pan. Press it evenly into the bottom of the pan, ensuring it reaches the edges.
- Second Rise: Cover the dough in the pan with a clean kitchen towel and let it rise for another 20-30 minutes. This second rise will give the cake a lighter texture.
- Spread the Topping: Gently spread the almond topping evenly over the dough in the pan. Make sure the topping covers the entire surface.
- Bake: Bake in the preheated oven for 25-30 minutes, or until the topping is golden brown and the dough is cooked through. A toothpick inserted into the center of the dough should come out clean.
- Cool: Let the cake cool in the pan for 10-15 minutes before releasing it from the springform pan. Transfer it to a wire rack to cool completely.
- Preparing the Filling:
- Chill the Bowl and Whisk: Place your mixing bowl and whisk (or whisk attachment for your stand mixer) in the freezer for 15-20 minutes. This will help the cream whip up faster and hold its shape better.
- Whip the Cream: Pour the heavy cream into the chilled bowl. Beat with the whisk or whisk attachment on medium speed until soft peaks form.
- Add Sugar and Vanilla: Gradually add the powdered sugar and vanilla extract. Continue beating until stiff peaks form. Be careful not to overwhip, as this can turn the cream into butter.
- Assembling the Cake:
- Cut the Cake: Using a long, serrated knife, carefully slice the cooled cake horizontally into two even layers.
- Spread the Filling: Spread the whipped cream filling evenly over the bottom layer of the cake.
- Replace the Top Layer: Gently place the top layer of the cake back on top of the filling.
- Chill: Refrigerate the assembled cake for at least 30 minutes before serving. This will allow the filling to set and the flavors to meld together.
- Serve: Slice and serve the Bee Sting Cake. Enjoy! It’s best served fresh, but leftovers can be stored in the refrigerator for up to 2 days.
Notes
- Make sure your yeast is active. If it doesn’t foam in the first step, it’s best to use fresh yeast.
- Don’t overwhip the cream, or it will turn into butter.
- Chilling the cake before serving allows the flavors to meld and the filling to set.


