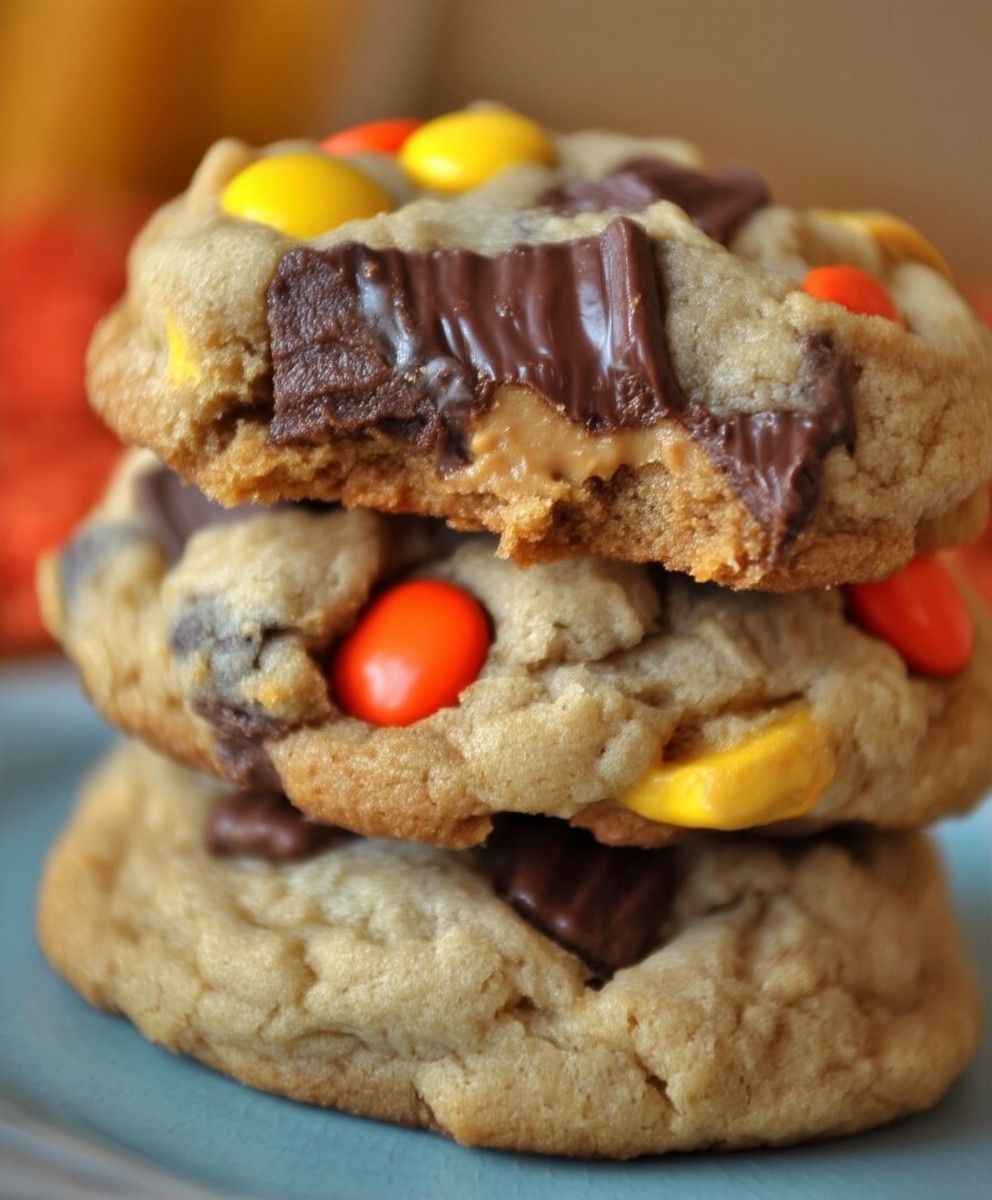
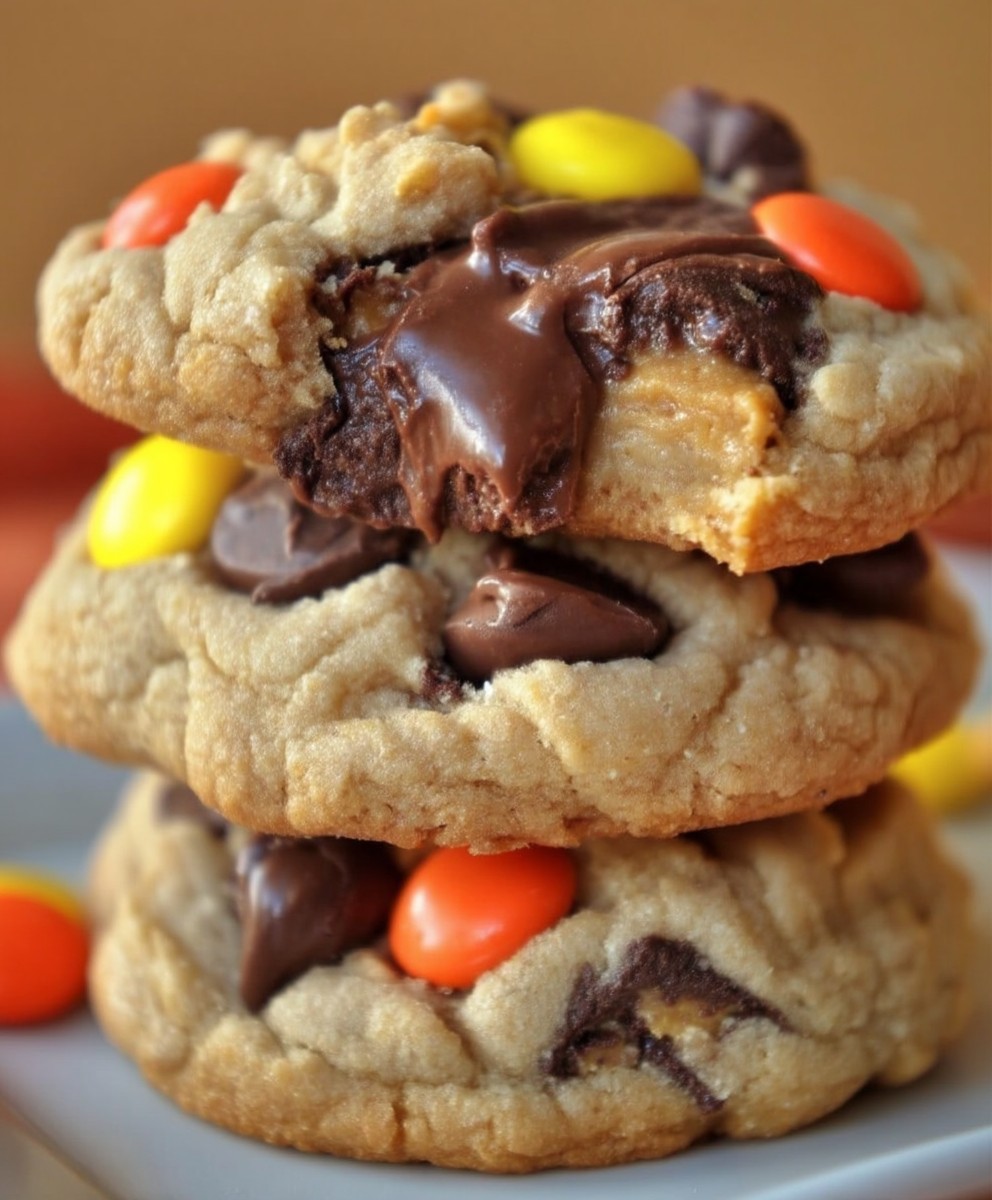
Peanut butter pudding cookies just the name alone conjures up images of soft, chewy perfection, doesn’t it? Imagine sinking your teeth into a cookie that’s intensely peanut buttery, almost melt-in-your-mouth tender, and boasting a subtle sweetness that keeps you coming back for more. These aren’t your average cookies; they’re a delightful twist on a classic, elevated by the magic of pudding mix.
While the exact origins of pudding cookies are a bit hazy, the concept of adding pudding mix to baked goods gained popularity in the mid-20th century as home bakers sought ways to enhance flavor and moisture. It’s a testament to American ingenuity and our love for convenient, delicious treats! The addition of pudding mix creates a remarkably soft and tender crumb, setting these cookies apart from their more traditional counterparts.
What makes peanut butter pudding cookies so irresistible? It’s the symphony of textures and tastes. The creamy peanut butter provides a rich, nutty base, while the pudding mix contributes to an unbelievably soft and almost cake-like texture. They are incredibly easy to make, requiring minimal ingredients and effort, making them perfect for a quick weeknight treat or a bake sale sensation. People adore these cookies because they deliver maximum flavor and satisfaction with minimal fuss. Get ready to experience cookie bliss!
Ingredients:
- 1 cup (2 sticks) unsalted butter, softened
- 1 cup granulated sugar
- 1 cup packed brown sugar
- 1 cup creamy peanut butter
- 2 large eggs
- 1 tablespoon vanilla extract
- 2 1/2 cups all-purpose flour
- 1 teaspoon baking soda
- 1 teaspoon baking powder
- 1/2 teaspoon salt
- 1 cup powdered sugar, for coating
Preparing the Dough:
- Cream the Butter and Sugars: In a large bowl (or the bowl of a stand mixer), cream together the softened butter, granulated sugar, and brown sugar until light and fluffy. This usually takes about 3-5 minutes. Make sure to scrape down the sides of the bowl occasionally to ensure everything is evenly mixed. The mixture should be pale and airy.
- Add Peanut Butter, Eggs, and Vanilla: Add the peanut butter to the creamed butter and sugar mixture and beat until well combined. Then, beat in the eggs one at a time, followed by the vanilla extract. Again, scrape down the sides of the bowl to ensure everything is incorporated. The mixture should be smooth and creamy at this stage.
- Combine Dry Ingredients: In a separate medium bowl, whisk together the all-purpose flour, baking soda, baking powder, and salt. Whisking is important to evenly distribute the leavening agents (baking soda and baking powder) throughout the flour. This will help the cookies rise properly.
- Gradually Add Dry Ingredients to Wet Ingredients: Gradually add the dry ingredients to the wet ingredients, mixing on low speed until just combined. Be careful not to overmix the dough. Overmixing can develop the gluten in the flour, resulting in tough cookies. Mix until the flour is just incorporated, and then stop. A few streaks of flour are okay at this point.
- Chill the Dough: Cover the bowl with plastic wrap and refrigerate the dough for at least 2 hours, or preferably overnight. Chilling the dough is crucial for several reasons. First, it allows the gluten to relax, resulting in a more tender cookie. Second, it prevents the cookies from spreading too much during baking. Third, it enhances the flavor of the cookies. The longer you chill the dough, the better the flavor will be.
Shaping and Coating the Cookies:
- Preheat Oven and Prepare Baking Sheets: Preheat your oven to 350°F (175°C). Line baking sheets with parchment paper or silicone baking mats. Parchment paper or silicone mats prevent the cookies from sticking to the baking sheets and make cleanup easier.
- Shape the Dough into Balls: Remove the chilled dough from the refrigerator. Using a cookie scoop or your hands, roll the dough into 1-inch balls. The size of the balls will determine the size of the cookies. I prefer 1-inch balls for a nice, manageable cookie size.
- Coat in Powdered Sugar: Place the powdered sugar in a shallow bowl. Roll each dough ball in the powdered sugar, ensuring it is completely coated. The powdered sugar coating will create a beautiful crackled effect on the cookies as they bake.
- Arrange on Baking Sheets: Place the coated dough balls on the prepared baking sheets, leaving about 2 inches between each cookie to allow for spreading.
Baking the Cookies:
- Bake the Cookies: Bake for 10-12 minutes, or until the edges are lightly golden brown and the centers are set. The baking time may vary depending on your oven, so keep a close eye on the cookies. You want them to be slightly soft in the center, as they will continue to firm up as they cool.
- Cool on Baking Sheets: Remove the baking sheets from the oven and let the cookies cool on the baking sheets for a few minutes before transferring them to a wire rack to cool completely. This allows the cookies to firm up slightly and prevents them from breaking when you transfer them.
Tips and Variations:
- Use High-Quality Peanut Butter: The quality of the peanut butter will significantly impact the flavor of the cookies. I recommend using a creamy, natural peanut butter for the best results.
- Don’t Overbake: Overbaked cookies will be dry and crumbly. Bake them until they are just set around the edges and still slightly soft in the center.
- Add Chocolate Chips: For a chocolate peanut butter twist, add 1 cup of chocolate chips to the dough.
- Make Peanut Butter Blossoms: After rolling the dough balls in powdered sugar, press a Hershey’s Kiss into the center of each cookie immediately after baking.
- Storage: Store the cookies in an airtight container at room temperature for up to 3 days.
- Freezing: You can freeze the unbaked dough balls for up to 2 months. Thaw them in the refrigerator overnight before baking. You can also freeze the baked cookies for up to 2 months.
Troubleshooting:
Cookies Spreading Too Much:
If your cookies are spreading too much, it could be due to a few reasons:
- Dough Not Chilled Enough: Make sure you chill the dough for at least 2 hours, or preferably overnight.
- Oven Temperature Too Low: Ensure your oven is preheated to the correct temperature.
- Too Much Butter: Double-check your measurements to ensure you are using the correct amount of butter.
Cookies Too Dry:
If your cookies are too dry, it could be due to overbaking. Bake them until they are just set around the edges and still slightly soft in the center.
Cookies Too Hard:
If your cookies are too hard, it could be due to overmixing the dough. Mix the dry ingredients into the wet ingredients until just combined.
Powdered Sugar Disappearing:
Sometimes the powdered sugar coating can disappear as the cookies bake. To prevent this, you can double-coat the cookies in powdered sugar. After the first coating, let the cookies sit for a few minutes, then roll them in powdered sugar again.
Nutritional Information (Approximate, per cookie):
(This is an estimate and can vary based on specific ingredients used)
- Calories: 150-180
- Fat: 8-10g
- Saturated Fat: 4-5g
- Cholesterol: 20-25mg
- Sodium: 80-100mg
- Carbohydrates: 18-22g
- Sugar: 12-15g
- Protein: 2-3g
Enjoy your delicious peanut butter pudding cookies! I hope you find this recipe easy to follow and that the cookies turn out perfectly for you. Happy baking!

Conclusion:
And there you have it! These peanut butter pudding cookies are truly something special, and I genuinely believe they’re a must-try for any cookie lover. The combination of the rich peanut butter flavor, the incredibly soft and chewy texture thanks to the pudding mix, and the ease of preparation makes them a winner in my book. Forget spending hours in the kitchen; these cookies come together quickly and easily, perfect for a weeknight treat or a weekend baking project with the kids.
But why are they a must-try, you ask? Beyond the deliciousness, it’s the sheer versatility! They’re not just your average peanut butter cookie; the pudding mix elevates them to a whole new level of moistness and flavor. They stay soft for days (if they last that long!), making them ideal for lunchboxes, potlucks, or simply enjoying with a cold glass of milk. Plus, the recipe is incredibly forgiving, so even if you’re a novice baker, you’re almost guaranteed success.
Serving Suggestions and Variations:
Now, let’s talk about how you can enjoy these delightful cookies. Of course, they’re fantastic on their own, but here are a few ideas to take them to the next level:
* Ice Cream Sandwiches: Use two cookies to sandwich a scoop of your favorite ice cream. Peanut butter cup ice cream or chocolate ice cream would be divine!
* Drizzle with Chocolate: Melt some dark or milk chocolate and drizzle it over the cooled cookies for an extra touch of indulgence.
* Add Chocolate Chips: For an even more decadent treat, fold in some chocolate chips (milk, dark, or even peanut butter chips!) into the dough before baking.
* Sprinkle with Sea Salt: A sprinkle of flaky sea salt on top of the baked cookies enhances the sweetness and peanut butter flavor.
* Make them Gluten-Free: Substitute the all-purpose flour with a gluten-free blend for a gluten-free version that’s just as delicious.
* Add a Glaze: Create a simple glaze with powdered sugar and milk (or even peanut butter!) and drizzle it over the cooled cookies.
* Peanut Butter Cup Surprise: Press a mini peanut butter cup into the center of each cookie dough ball before baking for a hidden surprise.
These are just a few ideas to get you started, but feel free to get creative and experiment with your own variations! Maybe add some chopped nuts, pretzels, or even a swirl of jam. The possibilities are endless!
I’m so excited for you to try this recipe and experience the magic of these peanut butter pudding cookies for yourself. I truly believe they’ll become a new favorite in your household. So, gather your ingredients, preheat your oven, and get ready to bake up a batch of pure cookie bliss.
And most importantly, I’d love to hear about your experience! Did you try any of the variations? What did you think of the texture and flavor? Share your photos and comments with me I can’t wait to see your creations and hear your feedback. Happy baking! Let me know if you have any questions, and I’ll do my best to help. Enjoy!
Peanut Butter Pudding Cookies: The Ultimate Recipe Guide
Soft, chewy peanut butter cookies with a crackled powdered sugar coating.
Ingredients
- 1 cup (2 sticks) unsalted butter, softened
- 1 cup granulated sugar
- 1 cup packed brown sugar
- 1 cup creamy peanut butter
- 2 large eggs
- 1 tablespoon vanilla extract
- 2 1/2 cups all-purpose flour
- 1 teaspoon baking soda
- 1 teaspoon baking powder
- 1/2 teaspoon salt
- 1 cup powdered sugar, for coating
Instructions
- Cream the Butter and Sugars: In a large bowl (or the bowl of a stand mixer), cream together the softened butter, granulated sugar, and brown sugar until light and fluffy (3-5 minutes). Scrape down the sides of the bowl occasionally.
- Add Peanut Butter, Eggs, and Vanilla: Add the peanut butter to the creamed mixture and beat until well combined. Beat in the eggs one at a time, followed by the vanilla extract. Scrape down the sides of the bowl.
- Combine Dry Ingredients: In a separate medium bowl, whisk together the all-purpose flour, baking soda, baking powder, and salt.
- Gradually Add Dry Ingredients to Wet Ingredients: Gradually add the dry ingredients to the wet ingredients, mixing on low speed until just combined. Be careful not to overmix.
- Chill the Dough: Cover the bowl with plastic wrap and refrigerate the dough for at least 2 hours, or preferably overnight.
- Preheat Oven and Prepare Baking Sheets: Preheat your oven to 350°F (175°C). Line baking sheets with parchment paper or silicone baking mats.
- Shape the Dough into Balls: Remove the chilled dough from the refrigerator. Using a cookie scoop or your hands, roll the dough into 1-inch balls.
- Coat in Powdered Sugar: Place the powdered sugar in a shallow bowl. Roll each dough ball in the powdered sugar, ensuring it is completely coated.
- Arrange on Baking Sheets: Place the coated dough balls on the prepared baking sheets, leaving about 2 inches between each cookie.
- Bake the Cookies: Bake for 10-12 minutes, or until the edges are lightly golden brown and the centers are set.
- Cool on Baking Sheets: Remove the baking sheets from the oven and let the cookies cool on the baking sheets for a few minutes before transferring them to a wire rack to cool completely.
Notes
- Use high-quality creamy peanut butter for the best flavor.
- Don’t overbake the cookies; they should be slightly soft in the center.
- For a chocolate peanut butter twist, add 1 cup of chocolate chips to the dough.
- To make Peanut Butter Blossoms, press a Hershey’s Kiss into the center of each cookie immediately after baking.
- Store the cookies in an airtight container at room temperature for up to 3 days.
- You can freeze the unbaked dough balls for up to 2 months. Thaw them in the refrigerator overnight before baking. You can also freeze the baked cookies for up to 2 months.
- If your cookies are spreading too much, make sure you chill the dough for at least 2 hours, or preferably overnight.
- If your cookies are too dry, it could be due to overbaking. Bake them until they are just set around the edges and still slightly soft in the center.
- If your cookies are too hard, it could be due to overmixing the dough. Mix the dry ingredients into the wet ingredients until just combined.
- Sometimes the powdered sugar coating can disappear as the cookies bake. To prevent this, you can double-coat the cookies in powdered sugar. After the first coating, let the cookies sit for a few minutes, then roll them in powdered sugar again.


