Polish dumplings, or pierogi as they’re lovingly known, are more than just a meal; they’re a warm hug on a plate, a taste of history, and a testament to the enduring power of comfort food. Have you ever craved something that instantly transports you to a cozy kitchen filled with the aroma of simmering onions and buttery dough? That’s the magic of pierogi!
These delightful pockets of deliciousness boast a rich history, deeply intertwined with Polish culture and tradition. Passed down through generations, each family holds their own cherished recipe, a closely guarded secret to the perfect dough and the most flavorful filling. From humble peasant fare to a staple at celebratory feasts, Polish dumplings have always held a special place at the Polish table.
But what is it about pierogi that makes them so universally adored? Perhaps it’s the satisfyingly soft, slightly chewy texture of the dough, or the explosion of flavor that comes with each bite of the savory filling. Whether stuffed with creamy potatoes and cheese, tangy sauerkraut and mushrooms, or sweet fruit, there’s a pierogi for every palate. And let’s not forget their incredible versatility! They can be boiled, pan-fried, or even baked, making them a convenient and customizable meal for any occasion. Join me as we embark on a culinary journey to create the perfect pierogi, a dish that’s sure to become a family favorite!

Ingredients:
- For the Dough:
- 3 cups all-purpose flour, plus more for dusting
- 1 large egg
- 1 cup warm water (approximately, adjust as needed)
- 1 teaspoon salt
- For the Potato and Cheese Filling (Classic):
- 2 pounds russet potatoes, peeled and quartered
- 1 cup farmer’s cheese (Twaróg), or ricotta cheese (drained well) as a substitute
- 1/2 cup grated sharp cheddar cheese (optional, but adds a nice flavor)
- 1/4 cup butter, melted
- 1 medium onion, finely chopped
- Salt and freshly ground black pepper to taste
- For Serving:
- Butter, melted
- Sour cream
- Crispy fried bacon or onions (optional)
Preparing the Potato and Cheese Filling:
- Boil the Potatoes: Place the peeled and quartered potatoes in a large pot. Cover them with cold water and add a pinch of salt. Bring the water to a boil over high heat, then reduce the heat to medium and simmer until the potatoes are very tender, about 15-20 minutes. You should be able to easily pierce them with a fork.
- Drain and Mash: Once the potatoes are cooked, drain them thoroughly in a colander. Return the potatoes to the pot and mash them until smooth. You can use a potato masher or a ricer for the best results. Make sure there are no lumps.
- Sauté the Onion: While the potatoes are cooking, melt 2 tablespoons of butter in a skillet over medium heat. Add the finely chopped onion and cook until softened and translucent, about 5-7 minutes. Be careful not to brown the onion too much. We want it to be sweet and flavorful.
- Combine the Filling Ingredients: Add the sautéed onion, farmer’s cheese (or ricotta), cheddar cheese (if using), and the remaining melted butter to the mashed potatoes. Season generously with salt and freshly ground black pepper. Mix everything together until well combined. Taste and adjust the seasoning as needed. The filling should be flavorful and slightly salty.
- Cool the Filling: Allow the filling to cool completely before using it to fill the pierogi. This will make it easier to handle and prevent the dough from becoming soggy. You can place the filling in the refrigerator to speed up the cooling process.
Making the Pierogi Dough:
- Combine Dry Ingredients: In a large bowl, whisk together the flour and salt. This ensures the salt is evenly distributed throughout the dough.
- Add Wet Ingredients: Make a well in the center of the flour mixture. Add the egg and about 3/4 cup of the warm water.
- Mix the Dough: Using a fork or your hands, gradually incorporate the flour into the wet ingredients. Continue adding the warm water, a little at a time, until the dough comes together and forms a ball. The amount of water you need may vary depending on the humidity and the type of flour you are using.
- Knead the Dough: Turn the dough out onto a lightly floured surface. Knead the dough for about 8-10 minutes, or until it is smooth, elastic, and no longer sticky. If the dough is too sticky, add a little more flour, one tablespoon at a time. If the dough is too dry, add a little more water, one teaspoon at a time. The dough should be firm but pliable.
- Rest the Dough: Wrap the dough tightly in plastic wrap and let it rest at room temperature for at least 30 minutes. This allows the gluten to relax, making the dough easier to roll out. You can also rest the dough in the refrigerator for up to 2 hours.
Assembling the Pierogi:
- Roll Out the Dough: Lightly flour a clean work surface. Divide the dough in half (keep the other half wrapped to prevent it from drying out). Roll out one half of the dough to about 1/8 inch thickness. You want it to be thin but not so thin that it tears easily.
- Cut Out Circles: Use a cookie cutter (about 3 inches in diameter) or a glass to cut out circles from the dough. Gather the scraps of dough, re-roll them, and cut out more circles.
- Fill the Pierogi: Place a teaspoon of the potato and cheese filling in the center of each dough circle. Don’t overfill them, or they will be difficult to seal.
- Seal the Pierogi: Fold the dough circle in half over the filling to form a half-moon shape. Pinch the edges of the dough together tightly to seal. Make sure there are no gaps, or the filling will leak out during cooking. You can also use a fork to crimp the edges for a decorative touch and to ensure a good seal.
- Repeat: Repeat the process with the remaining dough and filling. As you make the pierogi, place them on a lightly floured baking sheet to prevent them from sticking.
Cooking the Pierogi:
- Bring Water to a Boil: Fill a large pot with water and bring it to a rolling boil. Add a pinch of salt to the water.
- Cook the Pierogi: Gently drop the pierogi into the boiling water, a few at a time. Do not overcrowd the pot, or the pierogi will stick together.
- Cook Until They Float: Cook the pierogi until they float to the surface of the water and then cook for an additional 2-3 minutes. This ensures that the dough is cooked through.
- Remove and Drain: Use a slotted spoon to remove the pierogi from the water and drain them well.
Serving the Pierogi:
- Sauté the Pierogi (Optional): For extra flavor and a slightly crispy texture, you can sauté the cooked pierogi in melted butter in a skillet over medium heat until they are lightly browned on both sides. This step is optional, but I highly recommend it!
- Serve: Serve the pierogi hot, topped with melted butter, sour cream, and crispy fried bacon or onions (if desired). They are also delicious with a sprinkle of fresh parsley or dill.
Tips for Success:
- Don’t Overwork the Dough: Overworking the dough will make it tough. Knead it just until it is smooth and elastic.
- Keep the Dough Covered: When you are not working with the dough, keep it covered with plastic wrap to prevent it from drying out.
- Seal the Pierogi Well: Make sure to seal the pierogi tightly to prevent the filling from leaking out during cooking.
- Don’t Overcrowd the Pot: When cooking the pierogi, don’t overcrowd the pot. Cook them in batches to prevent them from sticking together.
- Freeze for Later: Pierogi freeze beautifully! To freeze, place the uncooked pierogi on a baking sheet lined with parchment paper and freeze until solid. Then, transfer them to a freezer bag or container. Cook them directly from frozen, adding a few extra minutes to the cooking time.
Variations:
- Sauerkraut and Mushroom Filling: Substitute the potato and cheese filling with a sauerkraut and mushroom filling. Sauté the sauerkraut and mushrooms with onions and garlic before using them as a filling.
- Meat Filling: Use ground beef, pork, or a combination of both for a meat filling. Cook the meat with onions, garlic, and spices before using it as a filling.
- Sweet Filling: For a sweet treat, fill the pierogi with fruit, such as blueberries, strawberries, or cherries. Add a little sugar and cornstarch to the fruit to thicken the filling.
Conclusion:
This isn’t just another recipe; it’s an invitation to experience a taste of tradition, a comforting hug on a plate, and a culinary adventure all rolled into one delicious package. These Polish dumplings, or pierogi as we affectionately call them, are more than just boiled dough; they’re a testament to generations of home cooks perfecting the art of simple ingredients transformed into something truly extraordinary. I truly believe that once you try this recipe, it will become a staple in your kitchen, a go-to dish for family gatherings, cozy nights in, or simply when you’re craving something utterly satisfying.
So, why is this recipe a must-try? Firstly, the flavor is simply unparalleled. The combination of the tender, slightly chewy dough with the savory filling creates a symphony of textures and tastes that will leave you wanting more. Secondly, it’s surprisingly versatile. While I’ve shared my classic potato and cheese filling (ruskie pierogi), the possibilities are truly endless. Feel free to experiment with different fillings sauerkraut and mushroom for a more traditional Polish Christmas Eve dish, ground meat for a hearty and filling meal, or even sweet fillings like blueberries or strawberries for a delightful dessert. Don’t be afraid to get creative and personalize your Polish dumplings to your own liking!
Serving Suggestions and Variations:
Once your pierogi are cooked, the fun doesn’t stop there! The way you serve them can elevate the experience even further. My personal favorite is to pan-fry them in butter with crispy onions until they’re golden brown and slightly caramelized. The added richness of the butter and the sweet crunch of the onions perfectly complement the savory filling. Another classic option is to top them with sour cream or a dollop of plain yogurt. For a more substantial meal, consider serving them with a side of kielbasa (Polish sausage) or a simple green salad.
If you’re feeling adventurous, try experimenting with different toppings and sauces. A sprinkle of fresh dill or parsley adds a burst of freshness, while a drizzle of melted butter or a dollop of applesauce can add a touch of sweetness. You can even create a creamy mushroom sauce or a tangy tomato sauce to take your pierogi to the next level.
For variations, consider adding different herbs and spices to the dough. A pinch of garlic powder or onion powder can add a subtle savory note, while a sprinkle of dried thyme or rosemary can add a touch of earthiness. You can also experiment with different types of flour, such as whole wheat flour or rye flour, to create a more rustic and flavorful dough.
Your Pierogi Adventure Awaits!
I know that making pierogi from scratch might seem a little daunting at first, but trust me, it’s easier than you think. And the reward those warm, comforting, and utterly delicious dumplings is well worth the effort. So, gather your ingredients, roll up your sleeves, and get ready to embark on a culinary adventure.
I’m confident that you’ll love this recipe as much as I do. And I can’t wait to hear about your experience! Please, don’t hesitate to share your photos, tips, and variations in the comments below. Let’s create a community of pierogi lovers and inspire each other to explore the endless possibilities of this classic dish. Happy cooking, and smacznego! (Bon appétit!) I’m sure your homemade Polish dumplings will be a hit!
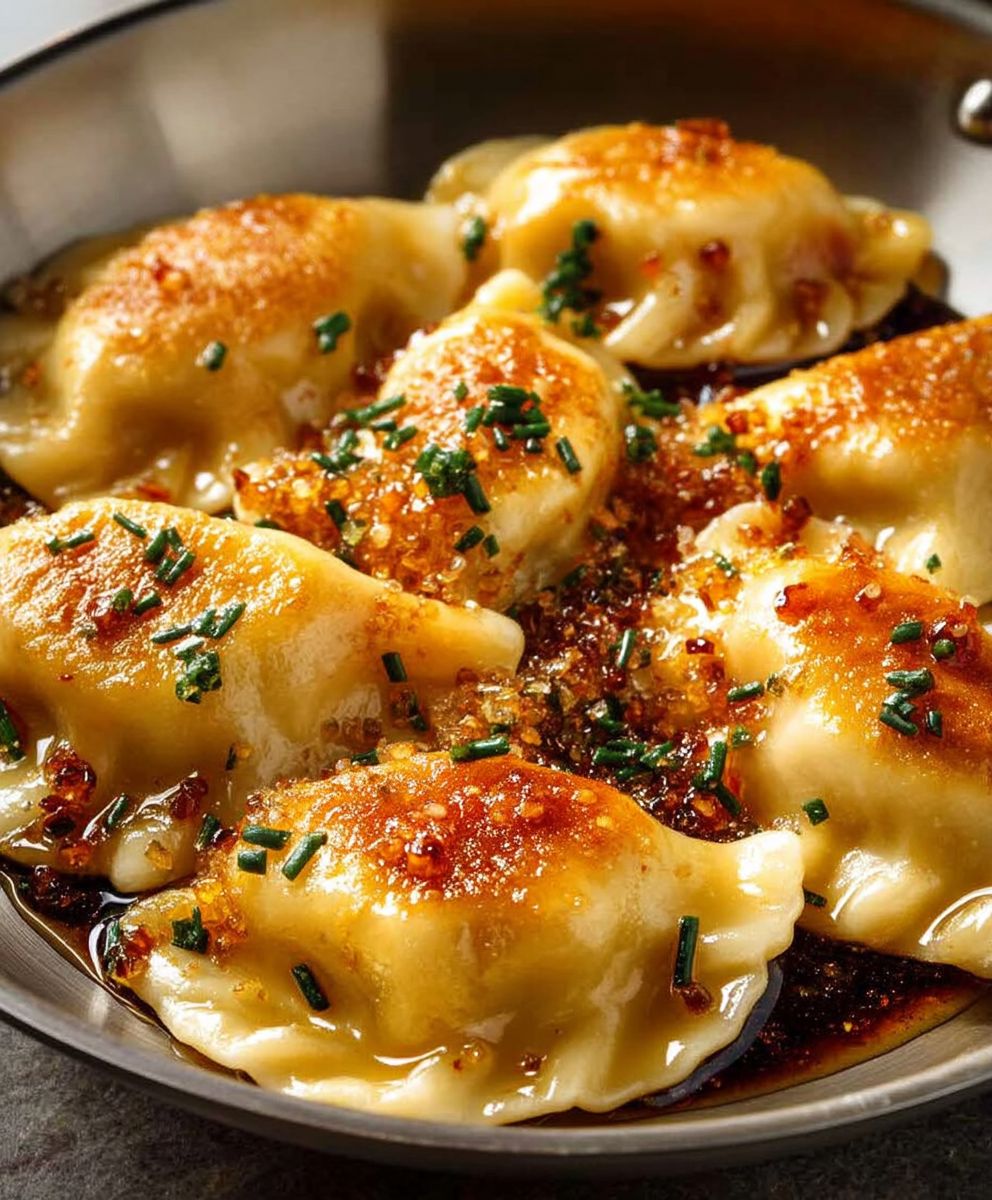
Polish Dumplings: A Guide to Authentic Pierogi Recipes
Classic homemade potato and cheese pierogi. Dumplings filled with creamy mashed potatoes, farmer's cheese, and cheddar, boiled and served with butter, sour cream, and toppings.
Ingredients
- 3 cups all-purpose flour, plus more for dusting
- 1 large egg
- 1 cup warm water (approximately, adjust as needed)
- 1 teaspoon salt
- 2 pounds russet potatoes, peeled and quartered
- 1 cup farmer’s cheese (Twaróg), or ricotta cheese (drained well) as a substitute
- 1/2 cup grated sharp cheddar cheese (optional, but adds a nice flavor)
- 1/4 cup butter, melted
- 1 medium onion, finely chopped
- Salt and freshly ground black pepper to taste
- Butter, melted
- Sour cream
- Crispy fried bacon or onions (optional)
Instructions
- Place the peeled and quartered potatoes in a large pot. Cover them with cold water and add a pinch of salt. Bring the water to a boil over high heat, then reduce the heat to medium and simmer until the potatoes are very tender, about 15-20 minutes. You should be able to easily pierce them with a fork.
- Once the potatoes are cooked, drain them thoroughly in a colander. Return the potatoes to the pot and mash them until smooth. You can use a potato masher or a ricer for the best results. Make sure there are no lumps.
- While the potatoes are cooking, melt 2 tablespoons of butter in a skillet over medium heat. Add the finely chopped onion and cook until softened and translucent, about 5-7 minutes. Be careful not to brown the onion too much. We want it to be sweet and flavorful.
- Add the sautéed onion, farmer’s cheese (or ricotta), cheddar cheese (if using), and the remaining melted butter to the mashed potatoes. Season generously with salt and freshly ground black pepper. Mix everything together until well combined. Taste and adjust the seasoning as needed. The filling should be flavorful and slightly salty.
- Allow the filling to cool completely before using it to fill the pierogi. This will make it easier to handle and prevent the dough from becoming soggy. You can place the filling in the refrigerator to speed up the cooling process.
- In a large bowl, whisk together the flour and salt. This ensures the salt is evenly distributed throughout the dough.
- Make a well in the center of the flour mixture. Add the egg and about 3/4 cup of the warm water.
- Using a fork or your hands, gradually incorporate the flour into the wet ingredients. Continue adding the warm water, a little at a time, until the dough comes together and forms a ball. The amount of water you need may vary depending on the humidity and the type of flour you are using.
- Turn the dough out onto a lightly floured surface. Knead the dough for about 8-10 minutes, or until it is smooth, elastic, and no longer sticky. If the dough is too sticky, add a little more flour, one tablespoon at a time. If the dough is too dry, add a little more water, one teaspoon at a time. The dough should be firm but pliable.
- Wrap the dough tightly in plastic wrap and let it rest at room temperature for at least 30 minutes. This allows the gluten to relax, making the dough easier to roll out. You can also rest the dough in the refrigerator for up to 2 hours.
- Lightly flour a clean work surface. Divide the dough in half (keep the other half wrapped to prevent it from drying out). Roll out one half of the dough to about 1/8 inch thickness. You want it to be thin but not so thin that it tears easily.
- Use a cookie cutter (about 3 inches in diameter) or a glass to cut out circles from the dough. Gather the scraps of dough, re-roll them, and cut out more circles.
- Place a teaspoon of the potato and cheese filling in the center of each dough circle. Don’t overfill them, or they will be difficult to seal.
- Fold the dough circle in half over the filling to form a half-moon shape. Pinch the edges of the dough together tightly to seal. Make sure there are no gaps, or the filling will leak out during cooking. You can also use a fork to crimp the edges for a decorative touch and to ensure a good seal.
- Repeat the process with the remaining dough and filling. As you make the pierogi, place them on a lightly floured baking sheet to prevent them from sticking.
- Fill a large pot with water and bring it to a rolling boil. Add a pinch of salt to the water.
- Gently drop the pierogi into the boiling water, a few at a time. Do not overcrowd the pot, or the pierogi will stick together.
- Cook the pierogi until they float to the surface of the water and then cook for an additional 2-3 minutes. This ensures that the dough is cooked through.
- Use a slotted spoon to remove the pierogi from the water and drain them well.
- For extra flavor and a slightly crispy texture, you can sauté the cooked pierogi in melted butter in a skillet over medium heat until they are lightly browned on both sides. This step is optional, but I highly recommend it!
- Serve the pierogi hot, topped with melted butter, sour cream, and crispy fried bacon or onions (if desired). They are also delicious with a sprinkle of fresh parsley or dill.
Notes
- Don’t Overwork the Dough: Overworking the dough will make it tough. Knead it just until it is smooth and elastic.
- Keep the Dough Covered: When you are not working with the dough, keep it covered with plastic wrap to prevent it from drying out.
- Seal the Pierogi Well: Make sure to seal the pierogi tightly to prevent the filling from leaking out during cooking.
- Don’t Overcrowd the Pot: When cooking the pierogi, don’t overcrowd the pot. Cook them in batches to prevent them from sticking together.
- Freeze for Later: Pierogi freeze beautifully! To freeze, place the uncooked pierogi on a baking sheet lined with parchment paper and freeze until solid. Then, transfer them to a freezer bag or container. Cook them directly from frozen, adding a few extra minutes to the cooking time.