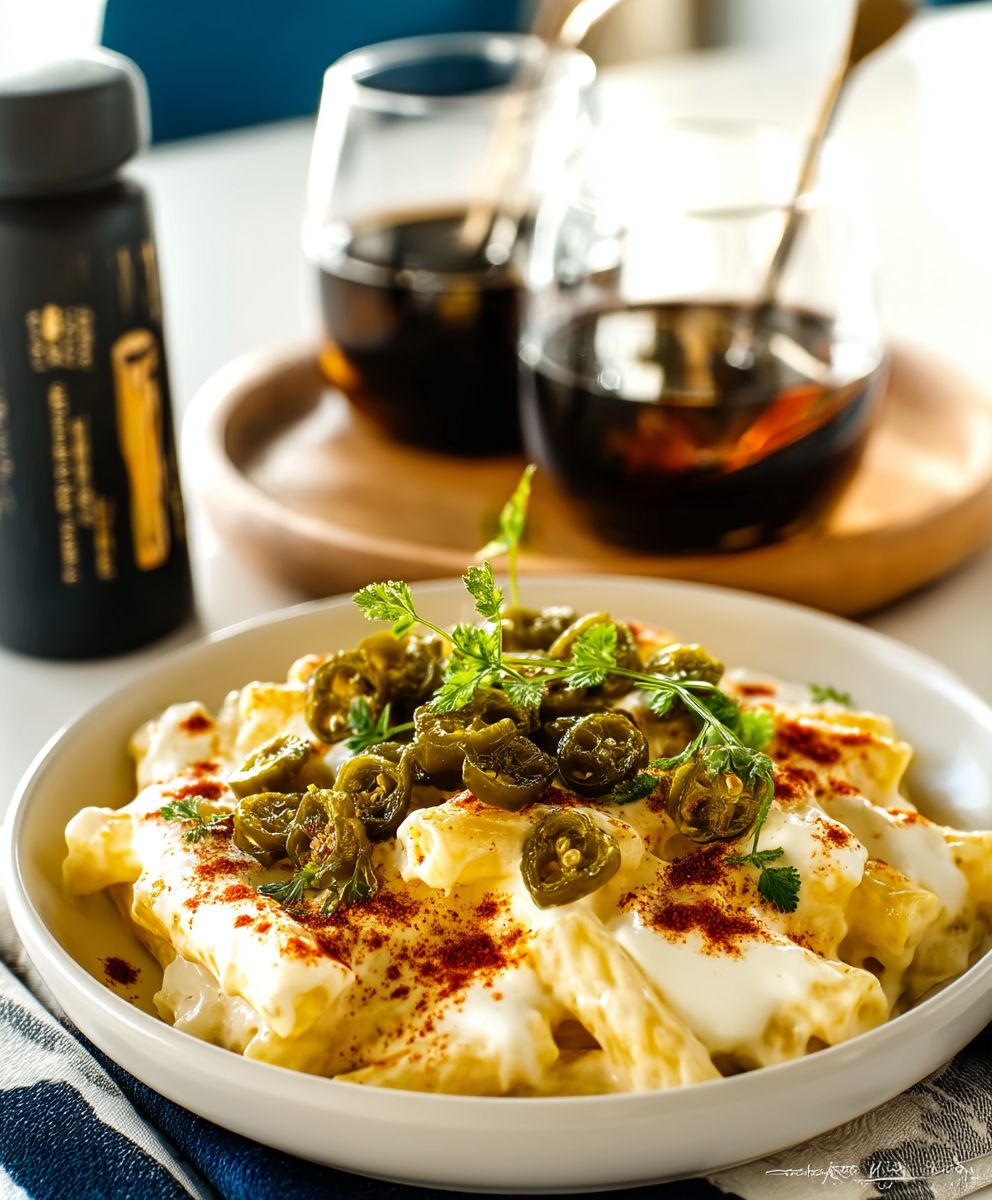
Chili Hatch Pepper: Prepare to embark on a culinary adventure that will ignite your taste buds! Imagine the smoky, earthy aroma filling your kitchen as you create a dish bursting with vibrant flavor. We’re diving headfirst into the world of Hatch peppers, those Southwestern gems that transform ordinary meals into extraordinary experiences.
Hatch peppers, grown exclusively in the Hatch Valley of New Mexico, boast a rich history deeply intertwined with the region’s culture. For generations, families have cultivated these peppers, passing down traditions and recipes that celebrate their unique taste. The specific terroir of the Hatch Valley, with its unique soil and climate, contributes to the pepper’s distinctive flavor profile, making it unlike any other chili pepper in the world.
What makes chili hatch pepper recipes so irresistible? It’s the perfect balance of heat and flavor. While some varieties pack a punch, others offer a milder, more nuanced taste. This versatility makes them a favorite among chefs and home cooks alike. People love the way Hatch peppers add depth and complexity to everything from stews and sauces to salsas and even grilled dishes. The slightly sweet, subtly smoky flavor is simply addictive. Plus, they’re incredibly easy to incorporate into your favorite recipes, adding a touch of Southwestern flair to your everyday meals. Get ready to discover your new favorite ingredient!
Ingredients:
- For the Chili Hatch Pepper Cornbread:
- 2 cups all-purpose flour
- 1 cup yellow cornmeal
- 1/4 cup granulated sugar
- 1 tablespoon baking powder
- 1 teaspoon baking soda
- 1/2 teaspoon salt
- 1 cup buttermilk
- 1/2 cup unsalted butter, melted
- 2 large eggs, lightly beaten
- 1 cup frozen corn kernels, thawed
- 1 cup roasted and diced Hatch chiles (about 4-6 peppers, depending on size and heat)
- 1/2 cup shredded cheddar cheese (optional)
- For Roasting the Hatch Chiles:
- 6-8 fresh Hatch chiles
- 1 tablespoon olive oil
- For Serving:
- Honey or maple syrup (optional)
- Butter (optional)
Roasting the Hatch Chiles:
Okay, let’s start with the most important part roasting those amazing Hatch chiles! This step brings out their smoky flavor and makes them easier to peel. Trust me, it’s worth the effort.
- Prepare the Chiles: First, wash the Hatch chiles thoroughly and pat them dry. This helps the olive oil adhere better.
- Coat with Oil: Lightly coat the chiles with olive oil. You can do this by tossing them in a bowl with the oil or brushing them individually. The oil helps the skin blister and char evenly.
- Roast Under the Broiler (Method 1): Preheat your broiler to high. Place the oiled chiles on a baking sheet lined with foil. Broil them for about 3-5 minutes per side, or until the skins are blackened and blistered. Watch them carefully, as broilers can vary in intensity, and you don’t want them to burn completely.
- Roast on the Grill (Method 2): If you have a grill, you can roast the chiles over medium-high heat. Place them directly on the grill grates and turn them frequently until the skins are blackened and blistered on all sides. This usually takes about 5-7 minutes total. The grill imparts a wonderful smoky flavor.
- Roast on a Gas Stovetop (Method 3): If you don’t have a broiler or grill, you can roast the chiles directly over a gas stovetop flame. Use tongs to hold each chile over the flame, turning it until the skin is blackened and blistered on all sides. This method requires a bit more attention, but it’s quick and effective.
- Steam the Chiles: Once the chiles are roasted, immediately transfer them to a heat-safe bowl and cover it tightly with plastic wrap. Alternatively, you can place them in a zip-top bag. The steam trapped inside will help loosen the skins, making them easier to peel. Let them steam for about 10-15 minutes.
- Peel the Chiles: After steaming, carefully peel the blackened skins off the chiles. You can use your fingers or a small paring knife. Don’t worry if you don’t get every last bit of skin off; a little char adds to the flavor.
- Remove Seeds and Dice: Cut the stems off the peeled chiles and remove the seeds and membranes. If you prefer a milder cornbread, remove more of the seeds. Dice the chiles into small pieces. You should have about 1 cup of diced chiles.
Preparing the Cornbread Batter:
Now that the chiles are roasted and ready, let’s get that cornbread batter going! This is where the magic happens, and the flavors start to come together.
- Preheat the Oven: Preheat your oven to 400°F (200°C). This ensures the cornbread cooks evenly and gets a nice golden-brown crust.
- Grease the Baking Pan: Grease a 9-inch square baking pan or a 10-inch cast iron skillet with butter or cooking spray. A cast iron skillet gives the cornbread a particularly crispy crust, but a regular baking pan works just fine.
- Combine Dry Ingredients: In a large bowl, whisk together the flour, cornmeal, sugar, baking powder, baking soda, and salt. Make sure everything is well combined so the leavening agents are evenly distributed.
- Combine Wet Ingredients: In a separate bowl, whisk together the buttermilk, melted butter, and eggs. The buttermilk adds a lovely tang and helps keep the cornbread moist.
- Combine Wet and Dry Ingredients: Pour the wet ingredients into the dry ingredients and stir until just combined. Be careful not to overmix, as this can result in a tough cornbread. A few lumps are okay!
- Add the Goodies: Gently fold in the thawed corn kernels, diced Hatch chiles, and shredded cheddar cheese (if using). Distribute them evenly throughout the batter.
Baking the Cornbread:
Almost there! Now it’s time to bake that beautiful batter into a delicious, spicy cornbread.
- Pour into Pan: Pour the batter into the prepared baking pan or skillet. Spread it evenly to ensure even baking.
- Bake: Bake for 20-25 minutes, or until a wooden skewer inserted into the center comes out clean. The cornbread should be golden brown on top and slightly pulling away from the sides of the pan.
- Cool Slightly: Let the cornbread cool in the pan for about 10 minutes before slicing and serving. This allows it to set up a bit and makes it easier to cut.
Serving Suggestions:
Your Chili Hatch Pepper Cornbread is ready! Here are a few ideas for serving it and making it even more enjoyable.
- Serve Warm: Cornbread is best served warm, straight from the oven.
- With Butter: A pat of butter on a warm slice of cornbread is a classic and simple pleasure.
- With Honey or Maple Syrup: Drizzle a little honey or maple syrup over the cornbread for a touch of sweetness that complements the spicy chiles.
- As a Side Dish: Serve the cornbread as a side dish with chili, soup, or barbecue. It’s a perfect accompaniment to hearty meals.
- Make Cornbread Muffins: For individual servings, pour the batter into muffin tins and bake for about 15-20 minutes, or until golden brown.
- Add More Cheese: If you’re a cheese lover, sprinkle extra cheddar cheese on top of the cornbread during the last few minutes of baking.
- Spice it Up: For an extra kick, add a pinch of cayenne pepper to the batter or use a hotter variety of Hatch chiles.
- Make it a Meal: Top the cornbread with pulled pork, coleslaw, and barbecue sauce for a complete and satisfying meal.
- Freezing Instructions: Let the cornbread cool completely. Wrap tightly in plastic wrap, then in aluminum foil. Freeze for up to 2 months. Thaw overnight in the refrigerator before reheating. Reheat in a 350°F (175°C) oven for about 10-15 minutes, or until warmed through.
Tips and Tricks for Perfect Cornbread:
- Don’t Overmix: Overmixing the batter develops the gluten in the flour, resulting in a tough cornbread. Mix until just combined.
- Use Buttermilk: Buttermilk adds a tangy flavor and helps keep the cornbread moist. If you don’t have buttermilk, you can make a substitute by adding 1 tablespoon of lemon juice or white vinegar to 1 cup of milk. Let it sit for 5 minutes before using.
- Melt the Butter: Melted butter adds richness and flavor to the cornbread.
- Adjust the Heat: Hatch chiles can vary in heat. Taste a small piece of the roasted chile before adding it to the batter to gauge its spiciness. Adjust the amount of chile accordingly.
- Use Fresh Ingredients: Fresh baking powder and baking soda are essential for a light and fluffy cornbread. Check the expiration dates before using.
- Experiment with Flavors: Feel free to experiment with other flavors, such as jalapenos, bacon, or herbs.
- Cast Iron Skillet: Using a cast iron skillet will give your cornbread a crispy, golden-brown crust that is hard to beat. Make sure to preheat the skillet in
Conclusion:
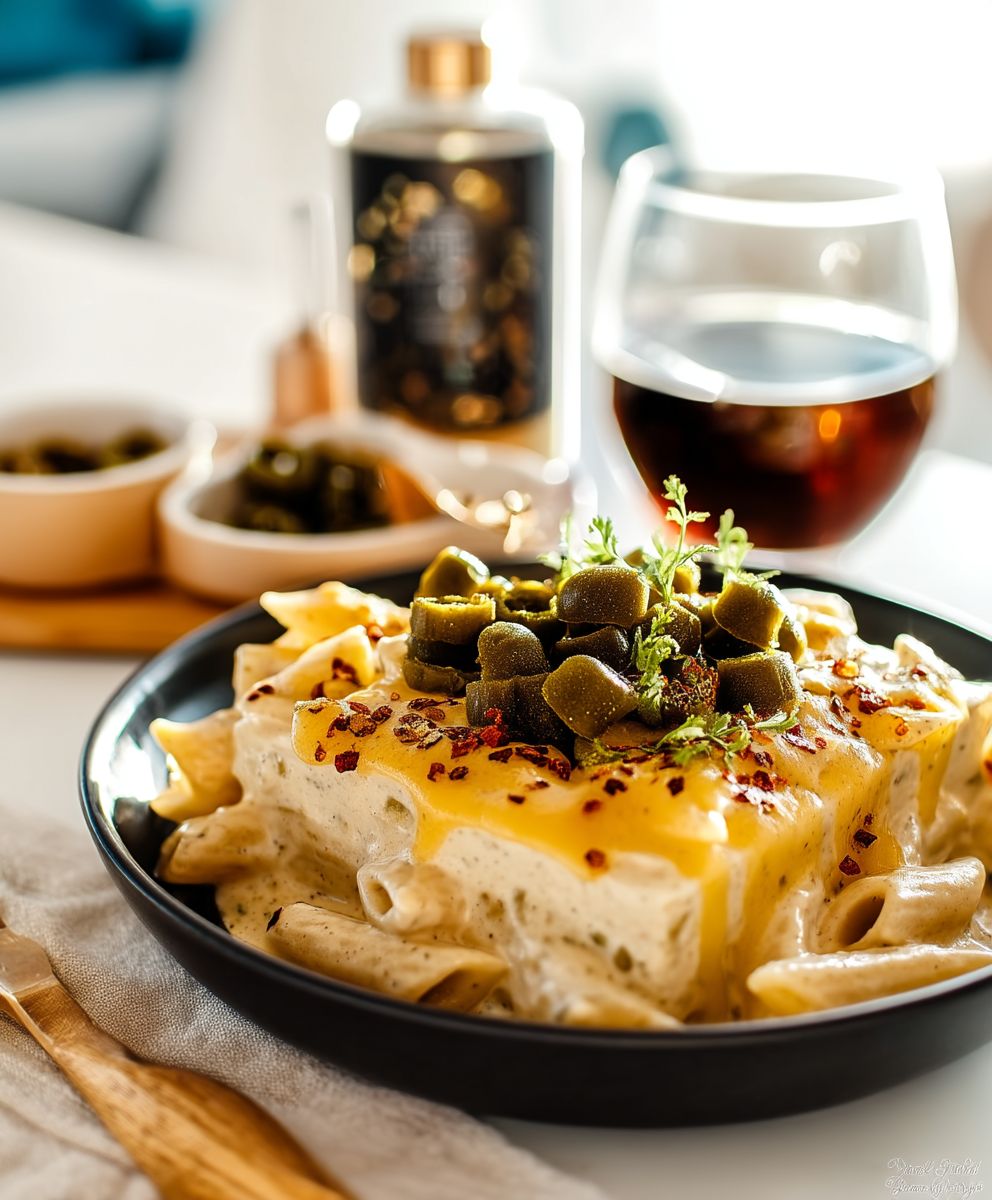
Well, there you have it! This isn’t just another recipe; it’s an invitation to experience the vibrant, smoky, and utterly addictive flavor of Hatch chili pepper in a way you’ve probably never imagined. From the initial aroma that fills your kitchen to the satisfying warmth that lingers after each bite, this dish is a true celebration of Southwestern cuisine. I truly believe this recipe is a must-try for anyone who appreciates bold flavors and a touch of culinary adventure.
But why is this recipe so special? It’s the perfect balance of heat and flavor. The Hatch chiles, with their unique earthy notes, are the star of the show, but the other ingredients work in harmony to create a symphony of taste that will tantalize your taste buds. It’s also incredibly versatile. You can adjust the heat level to your liking by using mild, medium, or hot Hatch chiles. And the best part? It’s surprisingly easy to make! Even if you’re a beginner cook, you’ll be able to whip up this delicious dish in no time.
Now, let’s talk about serving suggestions. This dish is fantastic on its own, served with a dollop of sour cream or Greek yogurt to cool things down. But it’s also incredibly versatile and can be used in a variety of ways. Imagine spooning it over a bed of fluffy rice or quinoa for a hearty and satisfying meal. Or, use it as a filling for tacos or burritos for a Southwestern-inspired fiesta. You could even stir it into scrambled eggs for a spicy breakfast that will kickstart your day.
And the variations are endless! If you’re feeling adventurous, try adding some shredded chicken or pork for a heartier dish. Or, throw in some black beans or corn for added texture and flavor. You could even experiment with different cheeses, such as Monterey Jack or pepper jack, to create your own unique twist. Don’t be afraid to get creative and make this recipe your own!
I personally love to serve this with a side of cornbread and a refreshing margarita. It’s the perfect combination for a casual dinner party or a cozy night in. And if you have any leftovers (which is unlikely!), they’re even better the next day. The flavors meld together even more, creating an even richer and more complex taste.
I’m so excited for you to try this recipe and experience the magic of Hatch chiles for yourself. I truly believe that this dish will become a new favorite in your household. So, gather your ingredients, put on your apron, and get ready to embark on a culinary adventure.
And please, don’t be shy! Once you’ve tried this recipe, I’d love to hear about your experience. Share your photos, your variations, and your thoughts in the comments below. Let’s create a community of Hatch chili lovers and inspire each other with our culinary creations. I can’t wait to see what you come up with! Happy cooking! I am confident that you will find this Hatch chili pepper recipe to be a delightful addition to your culinary repertoire.
Chili Hatch Pepper: The Ultimate Guide to Flavor, Heat, and Cooking
Spicy, flavorful cornbread with roasted Hatch chiles, corn, and cheddar. A delicious twist on a classic, perfect as a side or on its own.
Ingredients
- 2 cups all-purpose flour
- 1 cup yellow cornmeal
- 1/4 cup granulated sugar
- 1 tablespoon baking powder
- 1 teaspoon baking soda
- 1/2 teaspoon salt
- 1 cup buttermilk
- 1/2 cup unsalted butter, melted
- 2 large eggs, lightly beaten
- 1 cup frozen corn kernels, thawed
- 1 cup roasted and diced Hatch chiles (about 4-6 peppers, depending on size and heat)
- 1/2 cup shredded cheddar cheese (optional)
- 6-8 fresh Hatch chiles
- 1 tablespoon olive oil
- Honey or maple syrup (optional)
- Butter (optional)
Instructions
- Wash the Hatch chiles thoroughly and pat them dry.
- Lightly coat the chiles with olive oil.
- Preheat broiler to high. Place oiled chiles on a baking sheet lined with foil. Broil for 3-5 minutes per side, until skins are blackened and blistered.
- Roast chiles over medium-high heat on the grill, turning frequently until skins are blackened and blistered on all sides (5-7 minutes total).
- Hold each chile over a gas flame with tongs, turning until the skin is blackened and blistered on all sides.
- Transfer roasted chiles to a heat-safe bowl and cover tightly with plastic wrap or place in a zip-top bag. Let steam for 10-15 minutes.
- Peel the blackened skins off the chiles.
- Cut the stems off, remove seeds and membranes, and dice the chiles into small pieces (about 1 cup).
- Preheat oven to 400°F (200°C).
- Grease a 9-inch square baking pan or a 10-inch cast iron skillet with butter or cooking spray.
- In a large bowl, whisk together the flour, cornmeal, sugar, baking powder, baking soda, and salt.
- In a separate bowl, whisk together the buttermilk, melted butter, and eggs.
- Pour the wet ingredients into the dry ingredients and stir until just combined. Do not overmix.
- Gently fold in the thawed corn kernels, diced Hatch chiles, and shredded cheddar cheese (if using).
- Pour the batter into the prepared baking pan or skillet. Spread evenly.
- Bake for 20-25 minutes, or until a wooden skewer inserted into the center comes out clean and the cornbread is golden brown.
- Let the cornbread cool in the pan for about 10 minutes before slicing and serving.
Notes
- Don’t overmix the batter for a tender cornbread.
- Buttermilk adds a tangy flavor and moisture.
- Adjust the amount of Hatch chiles based on your preferred spice level.
- For a crispier crust, use a cast iron skillet.
- Cornbread can be frozen for up to 2 months.

