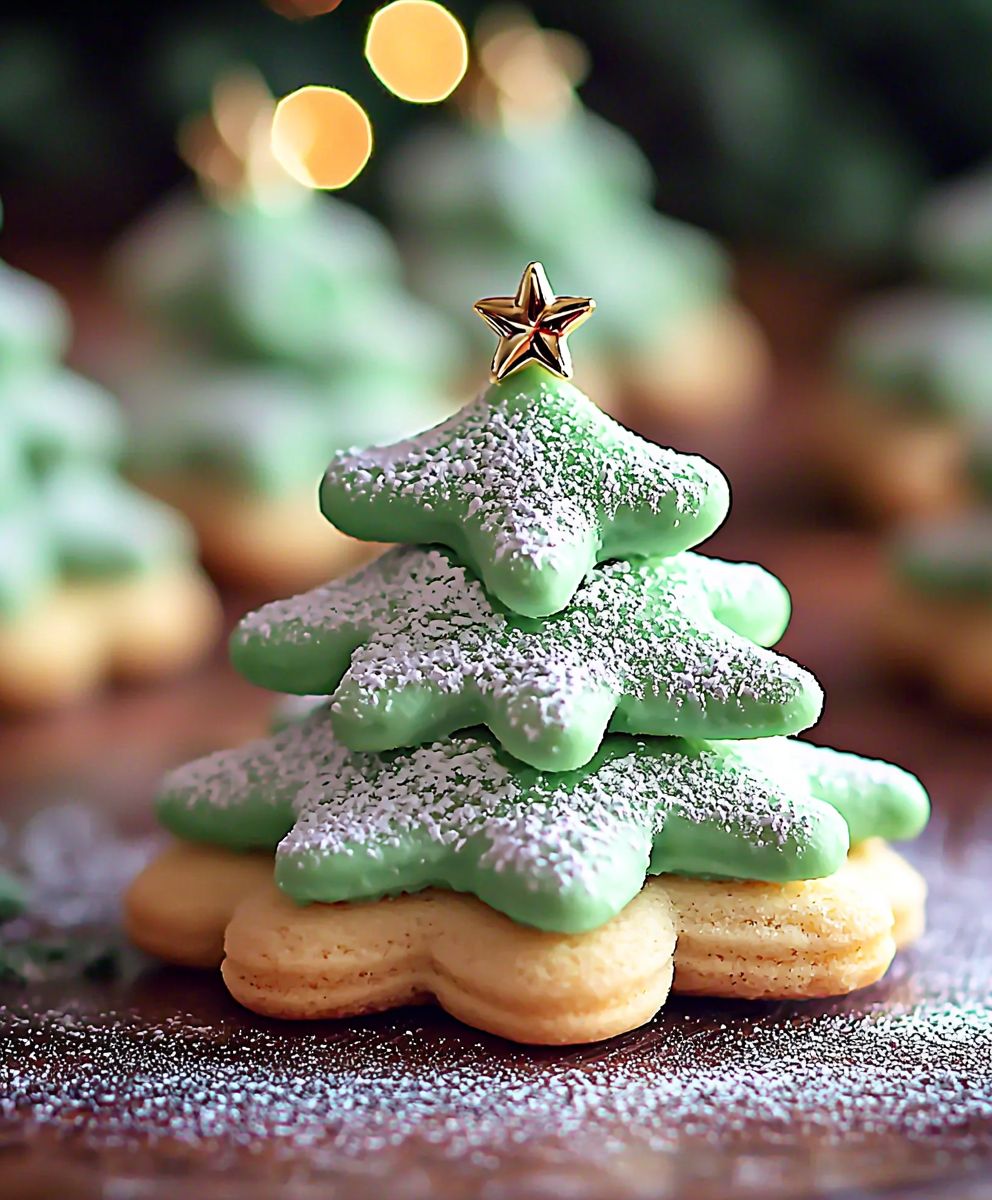
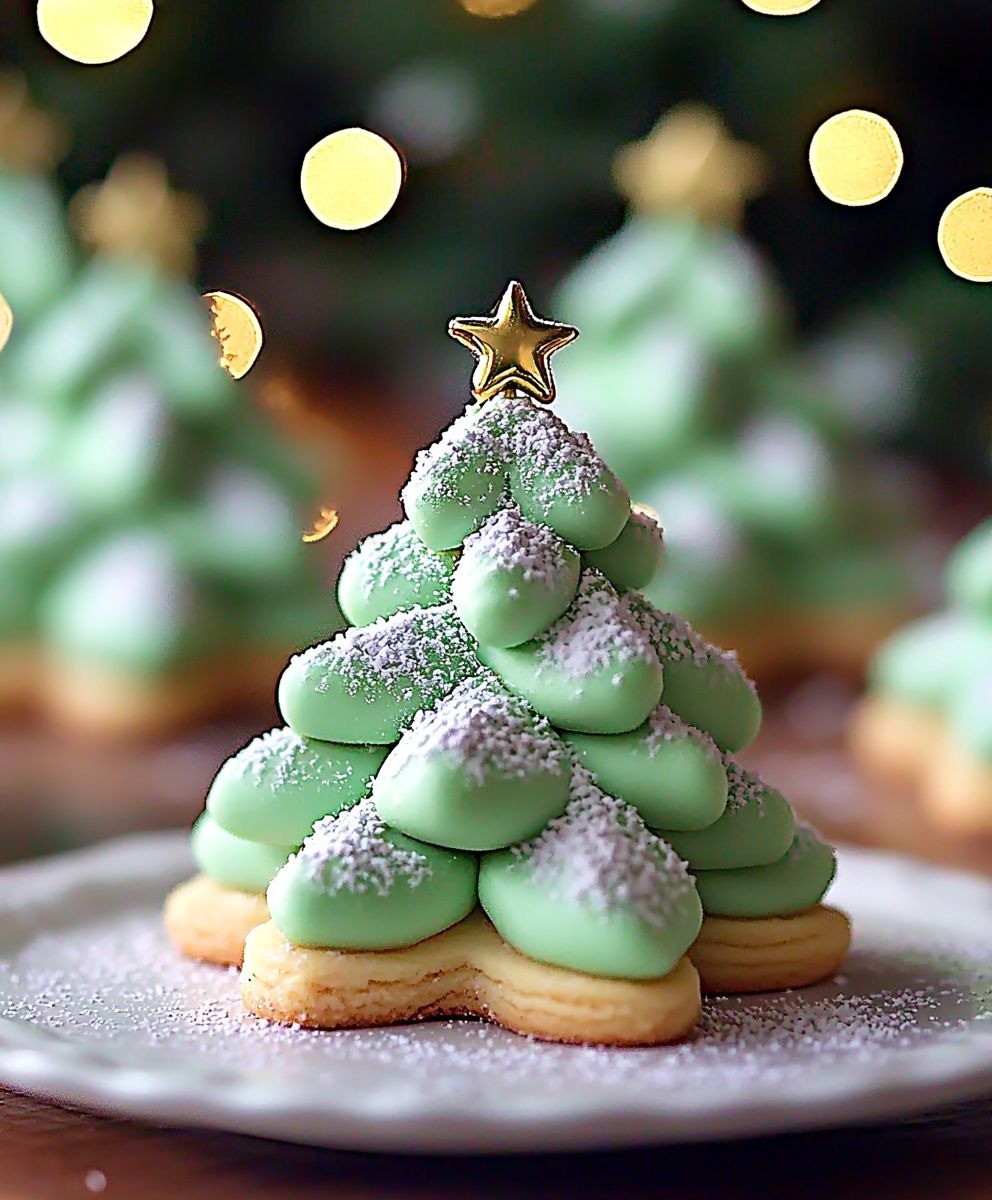
Christmas tree cookies aren’t just a treat; they’re edible ornaments, tiny symbols of holiday cheer that bring joy to every gathering! Imagine the delight on your loved ones’ faces as they bite into these beautifully decorated, buttery delights. I remember as a child, the highlight of our family Christmas was always decorating these cookies with my grandmother. Her recipe, passed down through generations, always felt like a secret ingredient to a perfect Christmas.
The tradition of shaped cookies during the holidays dates back centuries, with roots in various European cultures. The Christmas tree, popularized in the 19th century, quickly became a central symbol of the season, and naturally, cookies followed suit! These festive treats are more than just sugar and flour; they represent warmth, family, and the spirit of giving.
What makes Christmas tree cookies so irresistible? It’s the combination of the crisp, buttery cookie base, the sweet, smooth icing, and the endless possibilities for decoration. From simple sprinkles to intricate designs, each cookie becomes a unique work of art. Plus, they’re incredibly fun to make, making them a perfect activity for families and friends to enjoy together. So, let’s get baking and create some edible Christmas magic!
Ingredients:
- For the Cookies:
- 3 cups all-purpose flour, plus more for dusting
- 1 teaspoon baking powder
- 1/2 teaspoon baking soda
- 1/4 teaspoon salt
- 1 cup (2 sticks) unsalted butter, softened
- 1 1/2 cups granulated sugar
- 2 large eggs
- 1 teaspoon vanilla extract
- 1/2 teaspoon almond extract (optional, but adds a nice flavor!)
- For the Royal Icing:
- 4 cups powdered sugar, sifted
- 3 tablespoons meringue powder
- 1/2 cup warm water, plus more as needed
- Gel food coloring (green, red, yellow, etc. – whatever colors you want for your trees!)
- For Decorating:
- Assorted sprinkles (stars, nonpareils, sanding sugar, etc.)
- Edible glitter (optional, for extra sparkle!)
- Small candies (e.g., mini M&Ms, silver dragees)
Preparing the Cookie Dough:
- Combine Dry Ingredients: In a medium bowl, whisk together the flour, baking powder, baking soda, and salt. Make sure everything is well combined so your cookies rise evenly.
- Cream Butter and Sugar: In a large bowl (or the bowl of a stand mixer), cream together the softened butter and granulated sugar until light and fluffy. This usually takes about 3-5 minutes. Scrape down the sides of the bowl occasionally to ensure everything is evenly mixed. This step is crucial for creating a tender cookie.
- Add Eggs and Extracts: Beat in the eggs one at a time, mixing well after each addition. Then, stir in the vanilla extract and almond extract (if using). The extracts really enhance the flavor, so don’t skip them!
- Gradually Add Dry Ingredients: Gradually add the dry ingredients to the wet ingredients, mixing on low speed until just combined. Be careful not to overmix the dough, as this can result in tough cookies. Overmixing develops the gluten in the flour, which we want to avoid.
- Divide and Chill the Dough: Divide the dough in half, flatten each half into a disc, wrap tightly in plastic wrap, and refrigerate for at least 2 hours, or preferably overnight. Chilling the dough is essential because it allows the gluten to relax, preventing the cookies from spreading too much in the oven. It also makes the dough easier to handle.
Cutting and Baking the Cookies:
- Preheat Oven and Prepare Baking Sheets: Preheat your oven to 350°F (175°C). Line baking sheets with parchment paper or silicone baking mats. This will prevent the cookies from sticking and make cleanup a breeze.
- Roll Out the Dough: On a lightly floured surface, roll out one disc of dough to about 1/4 inch thickness. Keep the other disc of dough refrigerated while you work.
- Cut Out the Cookies: Use a Christmas tree cookie cutter (or any other festive shapes you like!) to cut out cookies. Try to cut the cookies close together to minimize scraps.
- Place on Baking Sheets: Carefully transfer the cut-out cookies to the prepared baking sheets, leaving about 1 inch of space between each cookie.
- Bake: Bake for 8-10 minutes, or until the edges are lightly golden brown. Keep a close eye on them, as they can burn easily. The baking time will depend on the size and thickness of your cookies.
- Cool Completely: Let the cookies cool on the baking sheets for a few minutes before transferring them to a wire rack to cool completely. Make sure the cookies are completely cool before you start decorating them.
- Repeat: Repeat the rolling, cutting, and baking process with the remaining dough, including the scraps. You can re-roll the scraps a couple of times, but the dough will become tougher each time, so try to minimize them.
Preparing the Royal Icing:
- Combine Ingredients: In a large bowl (or the bowl of a stand mixer), combine the sifted powdered sugar and meringue powder. Sifting the powdered sugar is important to remove any lumps and ensure a smooth icing.
- Add Water: Gradually add the warm water, mixing on low speed until the icing is smooth and glossy. Add more water, a teaspoon at a time, until you reach the desired consistency. The consistency you need will depend on what you’re using the icing for (outlining, flooding, etc.).
- Divide and Color the Icing: Divide the icing into separate bowls, depending on how many colors you want to use. Add gel food coloring to each bowl, a drop at a time, and mix well until you achieve the desired shade. Gel food coloring is preferred over liquid food coloring because it’s more concentrated and won’t thin out the icing as much.
- Adjust Consistency: Adjust the consistency of each color of icing as needed. For outlining, you’ll want a thicker consistency (toothpaste-like). For flooding (filling in the cookies), you’ll want a thinner consistency (similar to shampoo). You can adjust the consistency by adding more powdered sugar to thicken it or more water to thin it.
- Prepare Piping Bags: Transfer each color of icing to a piping bag fitted with a small round tip (for outlining) or leave the bag without a tip (for flooding). You can also use squeeze bottles for flooding, which some people find easier to control.
Decorating the Christmas Tree Cookies:
- Outline the Cookies: Using the green icing (or whatever color you choose for the base of your trees), outline the edges of each Christmas tree cookie. This creates a dam to prevent the flooding icing from running off the edges.
- Flood the Cookies: Immediately after outlining, flood the inside of the outlined area with the thinner green icing. Use a toothpick or scribe tool to gently spread the icing and pop any air bubbles.
- Add Sprinkles (While Wet): While the icing is still wet, immediately add sprinkles, edible glitter, or small candies to decorate the trees. The wet icing will act as glue to hold the decorations in place.
- Create Details (Optional): Once the base layer of icing has set (this usually takes a few hours), you can add more details with the other colors of icing. For example, you can pipe on garlands, ornaments, or a star on top of the tree.
- Add More Decorations (Optional): You can also use small candies, such as mini M&Ms or silver dragees, to add more dimension and texture to your decorated trees. Attach them to the icing with a small dab of icing.
- Let the Icing Set Completely: Allow the decorated cookies to sit at room temperature for several hours, or preferably overnight, until the icing is completely set and hardened. This is important to prevent the icing from smudging when you handle the cookies.
- Enjoy! Once the icing is completely set, your beautiful Christmas tree cookies are ready to be enjoyed! Store them in an airtight container at room temperature for up to a week.
Tips for Success:
- Use quality ingredients: The better the ingredients, the better the cookies will taste.
- Don’t overmix the dough: Overmixing can result in tough cookies.
- Chill the dough: Chilling the dough is essential for preventing the cookies from spreading too much in the oven.
- Use gel food coloring: Gel food coloring is more concentrated and won’t thin out the icing as much as liquid food coloring.
- Adjust the consistency of the icing: The consistency of the icing is important for both outlining and flooding.
- Work quickly when adding sprinkles: Add sprinkles while the icing is still wet so they will stick.
- Be patient: Allow the icing to set completely before handling the cookies.
Troubleshooting:
- Cookies spreading too much: Make sure you’re chilling the dough for long enough. You can also try adding a tablespoon or two of flour to the dough.
- Icing too thin: Add more powdered sugar to thicken it.
- Icing too thick: Add more water to thin it.
- Icing not setting: Make sure you’re using meringue powder in the icing.
Have fun and get creative with your decorations! These cookies are a perfect holiday activity for the whole family.

Conclusion:
This isn’t just another cookie recipe; it’s a gateway to holiday cheer, a sprinkle of magic, and a delicious tradition waiting to be born in your kitchen. These Christmas tree cookies are more than just a sweet treat; they’re edible art, a fun activity for the whole family, and a guaranteed crowd-pleaser at any festive gathering. The buttery, melt-in-your-mouth texture combined with the sweet vanilla glaze and dazzling decorations makes them utterly irresistible. Trust me, once you take a bite, you’ll understand why I’m so passionate about sharing this recipe!
But the best part? The possibilities are endless! While I’ve outlined my favorite method for creating perfectly shaped and decorated Christmas trees, feel free to let your creativity run wild.
Serving Suggestions and Variations:
* Cookie Platter Perfection: Arrange your Christmas tree cookies alongside other holiday favorites like gingerbread men, sugar cookies, and peanut butter blossoms for a stunning and diverse cookie platter.
* Edible Ornaments: Carefully poke a small hole in the top of each cookie before baking (using a straw works well!). Once cooled and decorated, thread ribbon or twine through the hole to create adorable edible ornaments for your Christmas tree. Just be sure to keep them out of reach of any curious pets!
* Icing Adventures: Experiment with different icing flavors and colors! Peppermint extract in the icing adds a refreshing twist, while a touch of almond extract creates a sophisticated flavor profile. You can also use gel food coloring to achieve vibrant and unique shades of green for your trees.
* Sprinkle Sensations: Don’t limit yourself to just green sprinkles! Use a variety of colors, shapes, and sizes to create truly unique and eye-catching Christmas tree cookies. Edible glitter adds a touch of sparkle, while mini chocolate chips can be used to create a “snowy” effect.
* Sandwich Cookies: For an extra decadent treat, sandwich two cookies together with a layer of buttercream frosting or chocolate ganache. This is a great way to use up any leftover frosting and adds a delightful surprise to each bite.
* Gift Giving: Package these cookies in festive tins or cellophane bags to create thoughtful and homemade gifts for friends, family, and neighbors. Everyone appreciates a delicious and beautifully decorated treat during the holidays.
* Dough Variations: While I love the classic vanilla flavor, you can easily adapt the dough to suit your preferences. Add a teaspoon of lemon zest for a citrusy twist, or incorporate a tablespoon of cocoa powder for a chocolatey version.
I truly believe that baking these Christmas tree cookies will become a cherished tradition in your home. The process is therapeutic, the results are delicious, and the memories you create will last a lifetime.
So, what are you waiting for? Gather your ingredients, preheat your oven, and get ready to embark on a baking adventure! I can’t wait to hear about your experience. Did you try any of the variations? Did you create a particularly stunning design? Share your photos and stories in the comments below! I’m eager to see your creations and learn from your baking adventures. Happy baking, and happy holidays! Let’s spread some joy, one delicious Christmas tree cookie at a time.
Christmas Tree Cookies: Festive Recipes & Decorating Ideas
Festive Christmas tree sugar cookies decorated with royal icing and colorful sprinkles, perfect for holiday baking and fun, creative activity.
Ingredients
- 3 cups all-purpose flour, plus more for dusting
- 1 teaspoon baking powder
- 1/2 teaspoon baking soda
- 1/4 teaspoon salt
- 1 cup (2 sticks) unsalted butter, softened
- 1 1/2 cups granulated sugar
- 2 large eggs
- 1 teaspoon vanilla extract
- 1/2 teaspoon almond extract (optional)
- 4 cups powdered sugar, sifted
- 3 tablespoons meringue powder
- 1/2 cup warm water, plus more as needed
- Gel food coloring (green, red, yellow, etc.)
- Assorted sprinkles (stars, nonpareils, sanding sugar, etc.)
- Edible glitter (optional)
- Small candies (e.g., mini M&Ms, silver dragees)
Instructions
- In a medium bowl, whisk together the flour, baking powder, baking soda, and salt.
- In a large bowl (or stand mixer), cream together the softened butter and granulated sugar until light and fluffy (3-5 minutes). Scrape down the sides of the bowl.
- Beat in the eggs one at a time, mixing well after each addition. Stir in the vanilla extract and almond extract (if using).
- Gradually add the dry ingredients to the wet ingredients, mixing on low speed until just combined. Do not overmix.
- Divide the dough in half, flatten each half into a disc, wrap tightly in plastic wrap, and refrigerate for at least 2 hours, or preferably overnight.
- Preheat oven to 350°F (175°C). Line baking sheets with parchment paper or silicone baking mats.
- On a lightly floured surface, roll out one disc of dough to about 1/4 inch thickness. Keep the other disc refrigerated.
- Use a Christmas tree cookie cutter to cut out cookies.
- Transfer the cut-out cookies to the prepared baking sheets, leaving about 1 inch of space between each cookie.
- Bake for 8-10 minutes, or until the edges are lightly golden brown.
- Let the cookies cool on the baking sheets for a few minutes before transferring them to a wire rack to cool completely.
- Repeat the rolling, cutting, and baking process with the remaining dough, including the scraps.
- In a large bowl (or stand mixer), combine the sifted powdered sugar and meringue powder.
- Gradually add the warm water, mixing on low speed until the icing is smooth and glossy. Add more water, a teaspoon at a time, until you reach the desired consistency.
- Divide the icing into separate bowls, depending on how many colors you want to use. Add gel food coloring to each bowl, a drop at a time, and mix well until you achieve the desired shade.
- Adjust the consistency of each color of icing as needed. For outlining, you’ll want a thicker consistency (toothpaste-like). For flooding (filling in the cookies), you’ll want a thinner consistency (similar to shampoo). You can adjust the consistency by adding more powdered sugar to thicken it or more water to thin it.
- Transfer each color of icing to a piping bag fitted with a small round tip (for outlining) or leave the bag without a tip (for flooding). You can also use squeeze bottles for flooding, which some people find easier to control.
- Using the green icing (or whatever color you choose for the base of your trees), outline the edges of each Christmas tree cookie.
- Immediately after outlining, flood the inside of the outlined area with the thinner green icing. Use a toothpick or scribe tool to gently spread the icing and pop any air bubbles.
- While the icing is still wet, immediately add sprinkles, edible glitter, or small candies to decorate the trees.
- Once the base layer of icing has set (this usually takes a few hours), you can add more details with the other colors of icing. For example, you can pipe on garlands, ornaments, or a star on top of the tree.
- You can also use small candies, such as mini M&Ms or silver dragees, to add more dimension and texture to your decorated trees. Attach them to the icing with a small dab of icing.
- Allow the decorated cookies to sit at room temperature for several hours, or preferably overnight, until the icing is completely set and hardened.
- Enjoy! Once the icing is completely set, your beautiful Christmas tree cookies are ready to be enjoyed! Store them in an airtight container at room temperature for up to a week.
Notes
- Use quality ingredients for the best flavor.
- Don’t overmix the dough.
- Chilling the dough is essential.
- Use gel food coloring for the icing.
- Adjust the consistency of the icing as needed.
- Work quickly when adding sprinkles.
- Be patient and allow the icing to set completely.
- If cookies spread too much, chill the dough longer or add a tablespoon or two of flour.
- If icing is too thin, add more powdered sugar.
- If icing is too thick, add more water.
- If icing isn’t setting, make sure you’re using meringue powder.


