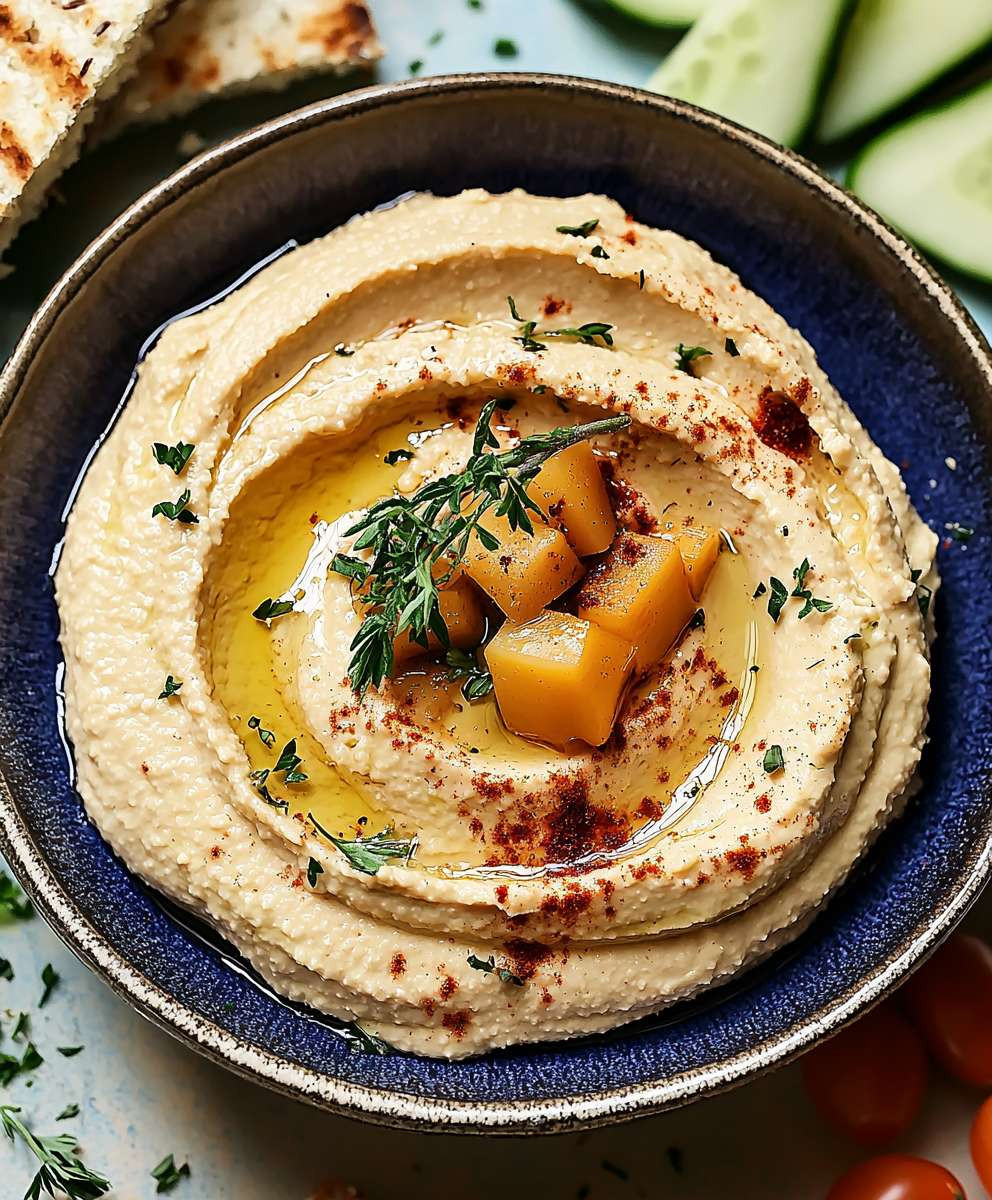
Classic Creamy Hummus Dip is a beloved staple in many households, and for good reason! This delightful spread not only boasts a rich, velvety texture but also offers a burst of flavor that can elevate any meal or snack. Originating from the Middle East, hummus has a rich history that dates back centuries, making it a dish steeped in cultural significance. Ive always found that the combination of chickpeas, tahini, garlic, and lemon juice creates a harmonious blend that appeals to a wide range of palates.
People adore Classic Creamy Hummus Dip not just for its taste, but also for its versatility. Whether youre using it as a dip for fresh veggies, a spread on sandwiches, or a topping for grilled meats, it never fails to impress. Plus, its incredibly easy to whip up at home, making it a convenient choice for gatherings or a quick snack. Join me as we explore the simple steps to create this delicious dip that will surely become a favorite in your kitchen!
Ingredients:
- 1 can (15 oz) of chickpeas, drained and rinsed
- 1/4 cup of tahini
- 2 tablespoons of olive oil
- 2 tablespoons of fresh lemon juice
- 1-2 cloves of garlic, minced (adjust to taste)
- 1/2 teaspoon of ground cumin
- Salt, to taste
- Water, as needed for consistency
- Fresh parsley, chopped (for garnish)
- Paprika (for garnish)
Preparing the Ingredients
1. **Gather all your ingredients**: Before you start, make sure you have everything you need on hand. This will make the process smoother and more enjoyable. I like to lay everything out on the counter so I can see what I have. 2. **Rinse the chickpeas**: Open the can of chickpeas and pour them into a colander. Rinse them under cold water to remove any excess sodium and canning liquid. This step is crucial for achieving a cleaner taste in your hummus. 3. **Prepare the garlic**: If you havent done so already, peel and mince the garlic cloves. I usually use a garlic press for this, but a knife works just as well. The garlic adds a wonderful depth of flavor, so dont skip this step!Making the Hummus
4. **Combine the base ingredients**: In a food processor, add the rinsed chickpeas, tahini, olive oil, lemon juice, minced garlic, and ground cumin. This combination is the heart of your hummus, and its where the magic begins. 5. **Blend until smooth**: Secure the lid on your food processor and pulse the mixture a few times to break down the chickpeas. Then, blend continuously for about 1-2 minutes. You want a creamy consistency, so dont rush this step. If the mixture is too thick, you can add a tablespoon of water at a time until you reach your desired consistency. 6. **Season to taste**: After blending, taste your hummus. This is the fun part! Add salt to your liking, and if you want a little more zing, feel free to add more lemon juice or garlic. Blend again for a few seconds to incorporate any additional ingredients. 7. **Adjust the texture**: If your hummus is still too thick, add more water, one tablespoon at a time, blending after each addition until you achieve the creaminess you desire. I usually find that 2-4 tablespoons of water do the trick.Serving the Hummus
8. **Transfer to a serving bowl**: Once youre satisfied with the flavor and texture, scoop the hummus out of the food processor and into a nice serving bowl. I love using a shallow bowl to showcase the hummus. 9. **Create a swirl**: Using the back of a spoon, create a swirl pattern on the surface of the hummus. This not only looks beautiful but also provides a little well for the olive oil and garnishes. 10. **Drizzle with olive oil**: Pour a little extra virgin olive oil over the top of your hummus. This adds richness and a lovely sheen. You can be generous here; it really enhances the flavor! 11. **Garnish**: Sprinkle chopped fresh parsley and a dash of paprika over the top for color and flavor. You can also add a few whole chickpeas for a rustic touch.Storing the Hummus
12. **Store leftovers**: If you have any hummus left (which is rare in my house!), transfer it to an airtight container. It can be stored in the refrigerator for up to a week. Just give it a good stir before serving again, as it may thicken slightly in the fridge.Enjoying Your Hummus
13. **Pair with dippers**: Serve your creamy hummus with an array of dippers. I love using fresh veggies like carrot sticks, cucumber slices, and bell pepper strips. Pita bread or pita chips are also fantastic options. You can even spread it on sandwiches or wraps for an extra flavor boost. 14. **Experiment with flavors**: Once youve mastered the classic version, feel free to experiment! You can add roasted red peppers, sun-dried tomatoes, or even spices like smoked paprika or cayenne for a kick. Each variation brings a new twist to this classic dip. 15. **Share with friends**: Hummus is perfect for gatherings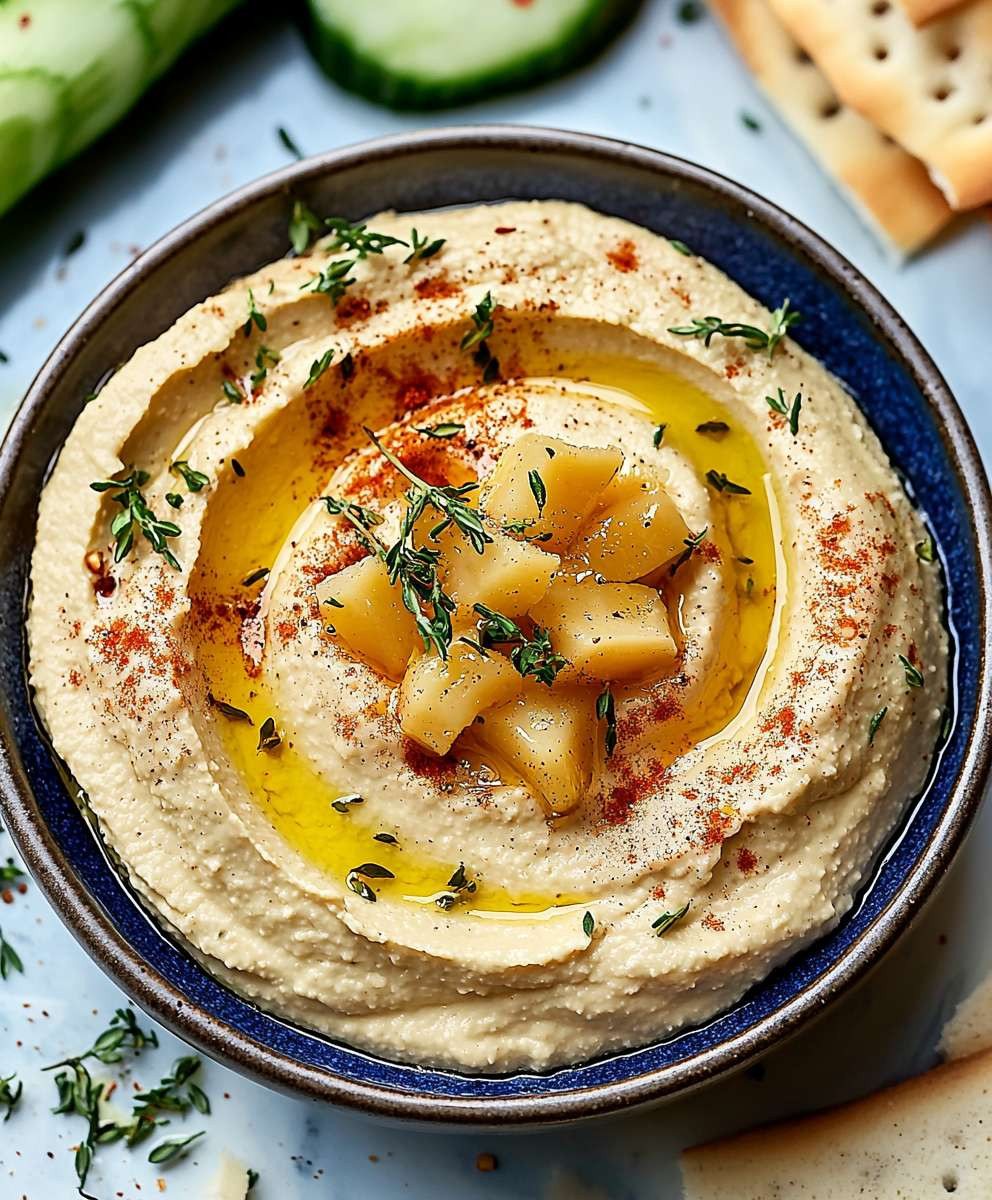
Conclusion:
In summary, this Classic Creamy Hummus Dip is an absolute must-try for anyone looking to elevate their snacking game. Its rich, velvety texture and delightful blend of flavors make it the perfect accompaniment to fresh veggies, warm pita bread, or even as a spread on your favorite sandwiches. Plus, its incredibly versatile! You can easily customize it by adding roasted red peppers, garlic, or even a sprinkle of smoked paprika for an extra kick. I encourage you to whip up this delicious dip for your next gathering or simply as a healthy snack for yourself. Trust me, once you taste the creamy goodness, youll be hooked! Dont forget to share your experience and any variations you try; Id love to hear how you make this Classic Creamy Hummus Dip your own. Happy dipping! Print
Classic Creamy Hummus Dip: The Ultimate Recipe for a Delicious Snack
- Total Time: 10 minutes
- Yield: 2 cups 1x
Description
This creamy hummus is made with chickpeas, tahini, and garlic, creating a flavorful dip or spread that’s perfect for any occasion. Quick to prepare and customizable, it’s a healthy addition to meals or gatherings. Enjoy with fresh veggies or pita for a delicious snack!
Ingredients
- 1 can (15 oz) of chickpeas, drained and rinsed
- 1/4 cup of tahini
- 2 tablespoons of olive oil
- 2 tablespoons of fresh lemon juice
- 1–2 cloves of garlic, minced
- 1/2 teaspoon of ground cumin
- Salt, to taste
- Water, as needed for consistency
- Fresh parsley, chopped (for garnish)
- Paprika (for garnish)
Instructions
- Gather all your ingredients: Lay everything out on the counter for easy access.
- Rinse the chickpeas: Drain and rinse the chickpeas under cold water to remove excess sodium and canning liquid.
- Prepare the garlic: Peel and mince the garlic cloves.
- Combine the base ingredients: In a food processor, add the rinsed chickpeas, tahini, olive oil, lemon juice, minced garlic, and ground cumin.
- Blend until smooth: Pulse a few times, then blend continuously for 1-2 minutes. Add water, one tablespoon at a time, if the mixture is too thick.
- Season to taste: Taste the hummus and add salt, more lemon juice, or garlic as desired. Blend again to incorporate.
- Adjust the texture: If needed, add more water, blending after each addition until creamy.
- Transfer to a serving bowl: Scoop the hummus into a shallow serving bowl.
- Create a swirl: Use the back of a spoon to create a swirl on the surface.
- Drizzle with olive oil: Pour extra virgin olive oil over the top.
- Garnish: Sprinkle with chopped parsley and paprika. Optionally, add whole chickpeas for decoration.
- Store leftovers: Transfer any remaining hummus to an airtight container and refrigerate for up to a week. Stir before serving.
- Pair with dippers: Serve with fresh veggies, pita bread, or pita chips.
- Experiment with flavors: Try adding roasted red peppers, sun-dried tomatoes, or spices for a twist.
- Share with friends: Enjoy this delicious dip at gatherings or as a healthy snack.
Notes
- Adjust garlic and lemon juice to your taste preference.
- For a creamier texture, blend longer and add water as needed.
- Hummus can be customized with various flavors and ingredients.
- Prep Time: 10 minutes
- Cook Time: 0 minutes

