Gluten Free Peanut Butter Cookies: Prepare to be amazed! Imagine sinking your teeth into a soft, chewy cookie, bursting with the rich, nutty flavor of peanut butter, and knowing it’s completely gluten-free. Sounds too good to be true? It’s not! These aren’t your average gluten-free cookies; they’re a delightful treat that everyone, regardless of dietary restrictions, will absolutely adore.
Peanut butter cookies have a special place in the hearts (and stomachs!) of many. While their exact origins are debated, they gained immense popularity in the early 20th century, becoming a staple in American households. Their simple ingredients and satisfying taste made them a go-to treat for generations. But what if you can’t enjoy the classic version due to gluten intolerance? That’s where this recipe shines!
What makes these Gluten Free Peanut Butter Cookies so irresistible? It’s the perfect combination of textures a slightly crisp edge giving way to a soft, melt-in-your-mouth center. The intense peanut butter flavor is perfectly balanced with just the right amount of sweetness. Plus, they are incredibly easy to make, requiring minimal ingredients and effort. Whether you’re looking for a quick after-school snack, a crowd-pleasing dessert, or a gluten-free option that doesn’t compromise on taste, these cookies are the answer. Get ready to experience peanut butter cookie perfection, reimagined for a gluten-free world!

Ingredients:
- 1 cup (240g) creamy peanut butter (make sure it’s gluten-free!)
- 1 cup (200g) granulated sugar
- 1 cup (200g) packed light brown sugar
- 2 large eggs
- 1 teaspoon vanilla extract
- 1 teaspoon baking soda
- 1/2 teaspoon baking powder
- 1/4 teaspoon salt
- Optional: Coarse sugar for sprinkling
Preparing the Dough:
- Cream Together the Peanut Butter and Sugars: In a large bowl, combine the peanut butter, granulated sugar, and brown sugar. I like to use an electric mixer (either a stand mixer or a hand mixer) for this, as it really helps to get everything nice and creamy. Beat on medium speed for about 2-3 minutes, or until the mixture is light and fluffy. This step is crucial for achieving the right texture in your cookies, so don’t rush it! Make sure to scrape down the sides of the bowl occasionally to ensure everything is evenly incorporated.
- Add the Eggs and Vanilla: Add the eggs one at a time, beating well after each addition. Then, stir in the vanilla extract. Again, make sure everything is fully combined. The mixture should be smooth and creamy at this point.
- Incorporate the Dry Ingredients: In a separate small bowl, whisk together the baking soda, baking powder, and salt. This ensures that the leavening agents are evenly distributed throughout the dough. Gradually add the dry ingredients to the wet ingredients, mixing on low speed until just combined. Be careful not to overmix, as this can result in tough cookies. Overmixing develops the gluten (even though we’re not using wheat flour, overmixing any flour can still affect the texture), leading to a less tender cookie.
- Chill the Dough (Optional but Recommended): This step is optional, but I highly recommend chilling the dough for at least 30 minutes (or even up to a few hours) in the refrigerator. Chilling the dough helps to prevent the cookies from spreading too much during baking and also allows the flavors to meld together. If you’re short on time, you can skip this step, but the cookies might be a little thinner. To chill, wrap the dough tightly in plastic wrap or place it in an airtight container.
Baking the Cookies:
- Preheat the Oven: Preheat your oven to 350°F (175°C). Make sure your oven rack is in the center position. This will help ensure even baking.
- Prepare the Baking Sheets: Line two baking sheets with parchment paper. Parchment paper is essential for preventing the cookies from sticking and makes cleanup a breeze. If you don’t have parchment paper, you can lightly grease the baking sheets, but parchment paper is definitely the preferred method.
- Scoop the Dough: Use a cookie scoop or a spoon to scoop rounded tablespoons of dough onto the prepared baking sheets, leaving about 2 inches between each cookie. The cookies will spread a bit during baking, so it’s important to give them enough space. I usually use a medium-sized cookie scoop, which holds about 1.5 tablespoons of dough.
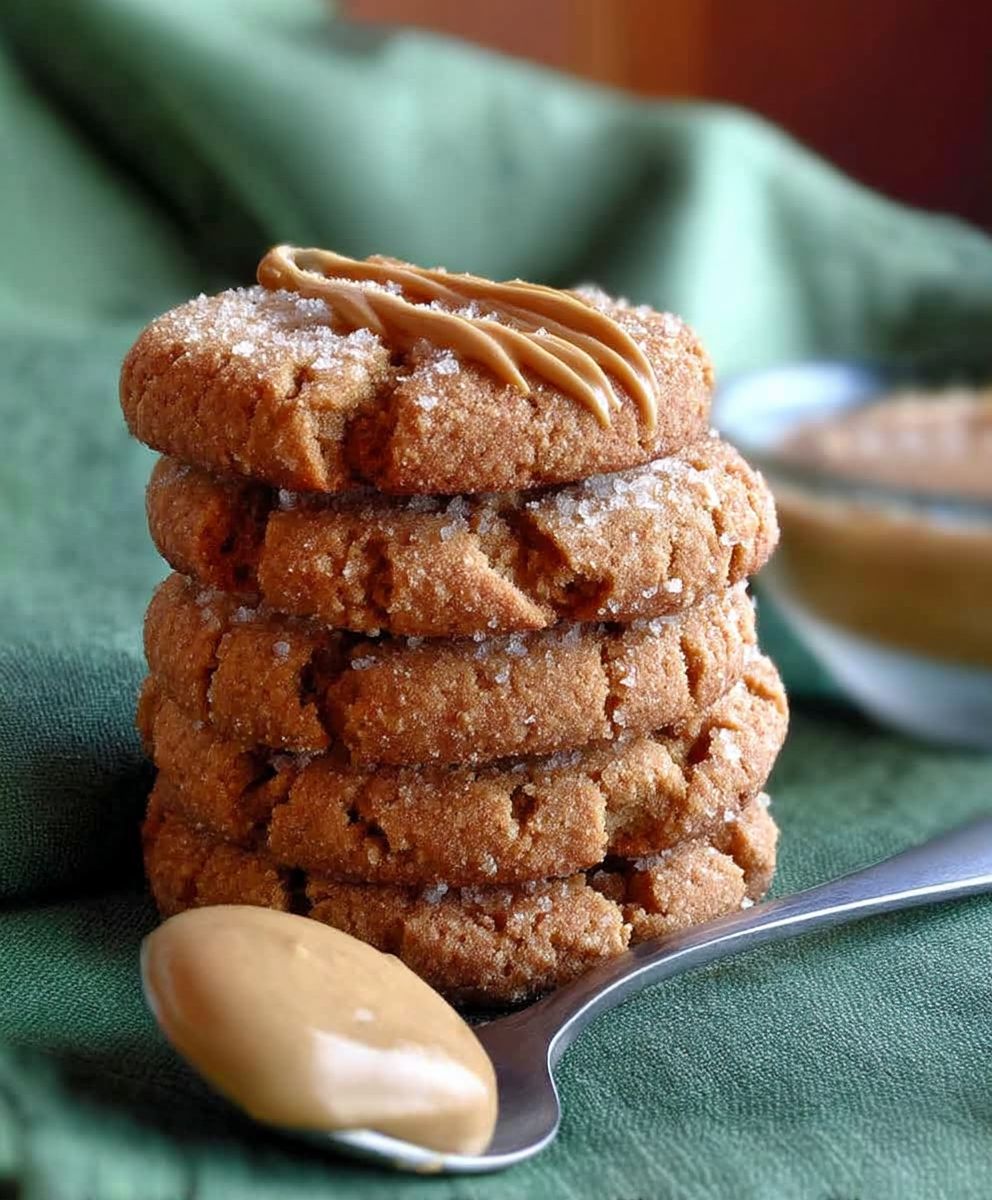
- Create the Criss-Cross Pattern: Use a fork to gently flatten each cookie and create a criss-cross pattern. Dip the fork in sugar between cookies to prevent it from sticking. This is a classic peanut butter cookie look, and it also helps the cookies bake evenly. Don’t press down too hard, just enough to flatten them slightly.
- Sprinkle with Coarse Sugar (Optional): If desired, sprinkle the cookies with coarse sugar before baking. This adds a nice sparkle and a little extra sweetness.
- Bake the Cookies: Bake for 8-10 minutes, or until the edges are lightly golden brown and the centers are set. Keep a close eye on them, as they can burn easily. The baking time will vary depending on your oven, so start checking them at 8 minutes. You want the edges to be set and the centers to look slightly soft. They will continue to firm up as they cool.
- Cool the Cookies: Remove the baking sheets from the oven and let the cookies cool on the baking sheets for a few minutes before transferring them to a wire rack to cool completely. This allows them to firm up a bit and prevents them from breaking when you try to move them.
Tips and Variations:
- Peanut Butter Choice: I prefer using creamy peanut butter for these cookies, but you can also use chunky peanut butter if you like a little extra texture. Just make sure that whatever peanut butter you use is gluten-free. Some brands add wheat flour as a stabilizer.
- Sugar Variations: You can experiment with different types of sugar. For example, you could use all brown sugar for a chewier cookie, or substitute some of the granulated sugar with coconut sugar for a slightly healthier option.
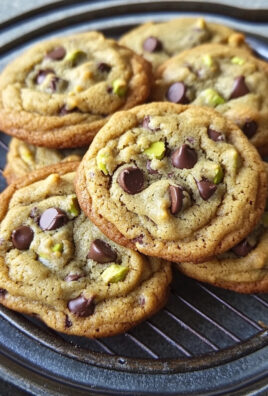
- Chocolate Chips: Add 1/2 cup of chocolate chips to the dough for a chocolate peanut butter cookie. Milk chocolate, semi-sweet chocolate, or dark chocolate chips all work well.
- Nuts: Add 1/2 cup of chopped peanuts to the dough for extra crunch.
- Sea Salt: Sprinkle a little sea salt on top of the cookies after baking for a sweet and salty treat.
- Storage: Store the cookies in an airtight container at room temperature for up to 5 days. They can also be frozen for longer storage.
- Troubleshooting: If your cookies are spreading too much, try chilling the dough for a longer period of time. You can also add a tablespoon or two of gluten-free flour (such as almond flour or oat flour) to the dough to help thicken it. If your cookies are too dry, try adding a tablespoon of milk or applesauce to the dough.
Why are my cookies flat?
Flat cookies can be caused by a few things. First, make sure you’re using the correct amount of baking soda and baking powder. Expired leavening agents won’t work as well. Second, avoid using softened or melted butter, as this can cause the cookies to spread too much. Chilling the dough before baking is also crucial for preventing excessive spreading. Finally, make sure your oven temperature is accurate. An oven that’s too hot can cause the cookies to spread before they have a chance to set.
Why are my cookies dry?
Dry cookies can be caused by overbaking or using too much flour. Make sure you’re not baking the cookies for too long, and start checking them a minute or two before the recommended baking time. Also, be careful not to overmeasure the flour. Spoon the flour into the measuring cup and level it off with a knife, rather than scooping it directly from the bag, which can pack the flour and result in too much being used.
Can I make these cookies vegan?
Yes, you can easily make these cookies vegan by substituting the eggs with flax eggs. To make a flax egg, combine 1 tablespoon of ground flaxseed meal with 3 tablespoons of water and let it sit for 5 minutes to thicken. Use this mixture in place of each egg in the recipe. You may also want to use a vegan butter substitute for the peanut butter, although most peanut butter is naturally vegan.
Enjoy your delicious gluten-free peanut butter cookies!
Conclusion:
And there you have it! These Gluten Free Peanut Butter Cookies are more than just a treat; they’re a testament to the fact that gluten-free baking can be incredibly delicious and satisfying. I truly believe this recipe is a must-try for anyone, regardless of dietary restrictions. The combination of the rich, nutty peanut butter flavor with the perfectly chewy texture is simply irresistible. It’s a classic cookie, reimagined for everyone to enjoy.
What makes these cookies so special? Well, beyond being gluten-free, they’re incredibly easy to make. The ingredient list is short and sweet, and the steps are straightforward, making them perfect for beginner bakers and seasoned pros alike. Plus, they come together in under 30 minutes, from start to finish! That’s right, you can have warm, freshly baked cookies in your hands in less time than it takes to watch an episode of your favorite show.
But the real magic lies in the taste. The peanut butter flavor is bold and pronounced, and the cookies have a delightful chewiness that you wouldn’t expect from a gluten-free recipe. They’re not crumbly or dry like some gluten-free baked goods can be. Instead, they’re soft, moist, and utterly addictive.
Now, let’s talk serving suggestions and variations. These cookies are fantastic on their own, of course, but they also pair beautifully with a cold glass of milk, a scoop of vanilla ice cream, or even a warm cup of coffee. For a truly decadent experience, try sandwiching two cookies together with a layer of chocolate ganache or peanut butter frosting.
If you’re feeling adventurous, there are plenty of ways to customize this recipe to your liking. Add a handful of chocolate chips for a chocolate peanut butter explosion. Sprinkle the tops with sea salt for a sweet and salty treat. Or, stir in some chopped peanuts for extra crunch. You could even experiment with different nut butters, like almond butter or cashew butter, to create unique flavor profiles.
Another fun variation is to make these into thumbprint cookies. Before baking, press your thumb into the center of each cookie and fill the indentation with your favorite jam or jelly. Raspberry or strawberry jam would be particularly delicious with the peanut butter flavor.
I’m so confident that you’ll love these Gluten Free Peanut Butter Cookies that I urge you to give them a try. Don’t be intimidated by the “gluten-free” label; this recipe is foolproof and delivers amazing results every time. I’ve made these cookies countless times, and they’re always a hit with family and friends.
Once you’ve baked a batch of these delightful cookies, I’d love to hear about your experience! Did you make any variations? What did you think of the taste and texture? Share your photos and comments on social media using [Your Hashtag Here] so we can all see your creations. I’m always excited to see how people put their own spin on my recipes.
So, go ahead, grab your ingredients, preheat your oven, and get ready to bake some seriously delicious Gluten Free Peanut Butter Cookies. You won’t regret it! Happy baking! I hope you enjoy these as much as I do, and I can’t wait to hear all about your baking adventures. Let me know if you have any questions, and I’ll do my best to help. Enjoy!
Gluten Free Peanut Butter Cookies: The Ultimate Recipe Guide
Classic gluten-free peanut butter cookies with a perfect balance of sweet and nutty flavors. Easy to make and always a crowd-pleaser!
Ingredients
- 1 cup (240g) creamy peanut butter (make sure it’s gluten-free!)
- 1 cup (200g) granulated sugar
- 1 cup (200g) packed light brown sugar
- 2 large eggs
- 1 teaspoon vanilla extract
- 1 teaspoon baking soda
- 1/2 teaspoon baking powder
- 1/4 teaspoon salt
- Optional: Coarse sugar for sprinkling
Instructions
- Cream Together the Peanut Butter and Sugars: In a large bowl, combine the peanut butter, granulated sugar, and brown sugar. Beat on medium speed with an electric mixer for about 2-3 minutes, or until the mixture is light and fluffy. Scrape down the sides of the bowl occasionally.
- Add the Eggs and Vanilla: Add the eggs one at a time, beating well after each addition. Then, stir in the vanilla extract until fully combined.
- Incorporate the Dry Ingredients: In a separate small bowl, whisk together the baking soda, baking powder, and salt. Gradually add the dry ingredients to the wet ingredients, mixing on low speed until just combined. Be careful not to overmix.
- Chill the Dough (Optional): Chill the dough for at least 30 minutes (or up to a few hours) in the refrigerator. Wrap the dough tightly in plastic wrap or place it in an airtight container.
- Preheat the Oven: Preheat your oven to 350°F (175°C). Make sure your oven rack is in the center position.
- Prepare the Baking Sheets: Line two baking sheets with parchment paper.
- Scoop the Dough: Use a cookie scoop or a spoon to scoop rounded tablespoons of dough onto the prepared baking sheets, leaving about 2 inches between each cookie.
- Create the Criss-Cross Pattern: Use a fork to gently flatten each cookie and create a criss-cross pattern. Dip the fork in sugar between cookies to prevent it from sticking.
- Sprinkle with Coarse Sugar (Optional): If desired, sprinkle the cookies with coarse sugar before baking.
- Bake the Cookies: Bake for 8-10 minutes, or until the edges are lightly golden brown and the centers are set.
- Cool the Cookies: Remove the baking sheets from the oven and let the cookies cool on the baking sheets for a few minutes before transferring them to a wire rack to cool completely.
Notes
- Peanut Butter Choice: Use creamy or chunky peanut butter, ensuring it’s gluten-free.
- Sugar Variations: Experiment with different types of sugar.
- Chocolate Chips: Add 1/2 cup of chocolate chips to the dough.
- Nuts: Add 1/2 cup of chopped peanuts to the dough.
- Sea Salt: Sprinkle a little sea salt on top of the cookies after baking.
- Storage: Store in an airtight container at room temperature for up to 5 days or freeze for longer storage.
- Troubleshooting: If cookies spread too much, chill the dough longer or add gluten-free flour. If cookies are too dry, add milk or applesauce.
- Why are my cookies flat? Make sure you’re using the correct amount of baking soda and baking powder. Avoid using softened or melted butter, as this can cause the cookies to spread too much. Chilling the dough before baking is also crucial for preventing excessive spreading. Finally, make sure your oven temperature is accurate. An oven that’s too hot can cause the cookies to spread before they have a chance to set.
- Why are my cookies dry? Dry cookies can be caused by overbaking or using too much flour. Make sure you’re not baking the cookies for too long, and start checking them a minute or two before the recommended baking time. Also, be careful not to overmeasure the flour. Spoon the flour into the measuring cup and level it off with a knife, rather than scooping it directly from the bag, which can pack the flour and result in too much being used.
- Vegan Option: Substitute eggs with flax eggs (1 tbsp ground flaxseed meal + 3 tbsp water, let sit for 5 minutes).