Jello Cookies: Prepare to be amazed by these vibrant, melt-in-your-mouth treats that are as fun to make as they are to eat! These aren’t your grandma’s ordinary cookies; they’re a delightful explosion of color and flavor that will brighten any day. I remember first encountering these whimsical cookies at a school bake sale, and I was instantly captivated by their cheerful appearance and surprisingly soft texture.
While the exact origins of Jello Cookies are a bit of a mystery, they seem to have gained popularity in the mid-20th century, coinciding with the rise of Jell-O as a versatile and convenient ingredient. The beauty of these cookies lies in their simplicity and adaptability. They’re incredibly easy to make, requiring just a handful of ingredients that you likely already have in your pantry. But the real magic comes from the Jell-O itself, which not only imparts a beautiful hue but also contributes to the cookies’ signature soft and chewy texture.
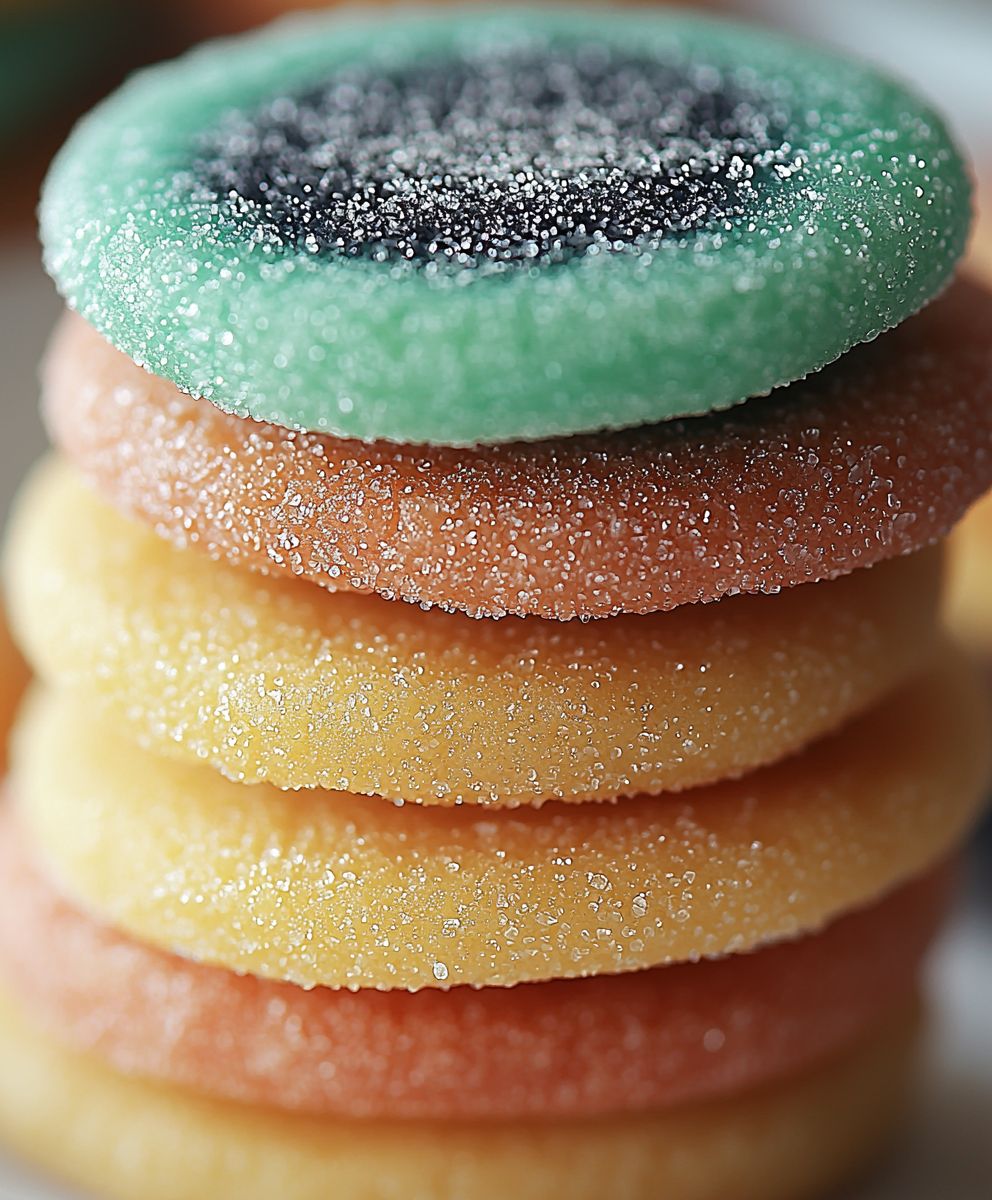
People adore these cookies for several reasons. First, they are visually stunning, making them perfect for parties, holidays, or any occasion that calls for a touch of whimsy. Second, the flavor possibilities are endless! You can use any flavor of Jell-O to create a unique taste profile that suits your preferences. And finally, their soft, almost cake-like texture is simply irresistible. Get ready to bake up a batch of these delightful cookies that are sure to become a family favorite!

Ingredients:
- 1 box (3 ounces) Jell-O gelatin, any flavor
- 1/2 cup (1 stick) unsalted butter, softened
- 1/2 cup granulated sugar
- 1/4 cup vegetable oil
- 1 large egg
- 1 teaspoon vanilla extract
- 2 cups all-purpose flour
- 1 teaspoon baking powder
- 1/4 teaspoon salt
- Optional: sanding sugar or sprinkles, for decorating
Preparing the Dough:
Alright, let’s get started! These Jell-O cookies are so much fun to make, and the flavor possibilities are endless. The key to a great cookie is starting with a well-prepared dough, so let’s dive in.
- Cream Together Butter and Sugar: In a large mixing bowl, cream together the softened butter and granulated sugar until light and fluffy. This usually takes about 3-5 minutes with an electric mixer. Make sure your butter is truly softened, but not melted, for the best results. We want a nice, airy mixture that will give our cookies a tender crumb.
- Add Oil, Egg, and Vanilla: Once the butter and sugar are creamed, add the vegetable oil, egg, and vanilla extract to the bowl. Mix until everything is well combined. The oil adds moisture and helps keep the cookies soft, while the egg binds everything together and adds richness. Don’t overmix at this stage; just mix until everything is incorporated.
- Incorporate the Jell-O: Now for the star of the show the Jell-O! Add the entire box of Jell-O gelatin powder to the wet ingredients. Mix on low speed until the Jell-O is evenly distributed throughout the mixture. The dough will take on the color and flavor of the Jell-O, so choose your flavor wisely! This is where the magic happens, and you’ll start to see the dough transform into something truly special.
- Combine Dry Ingredients: In a separate medium bowl, whisk together the all-purpose flour, baking powder, and salt. Whisking helps to evenly distribute the baking powder and salt, ensuring that your cookies rise properly and have a balanced flavor.
- Gradually Add Dry Ingredients to Wet Ingredients: Gradually add the dry ingredients to the wet ingredients, mixing on low speed until just combined. Be careful not to overmix the dough, as this can lead to tough cookies. Mix until the flour is just incorporated, and then stop. A few streaks of flour are okay at this point.
- Chill the Dough: This is a crucial step! Cover the dough with plastic wrap and refrigerate for at least 30 minutes, or even better, for an hour. Chilling the dough helps to prevent the cookies from spreading too much during baking and also allows the flavors to meld together. Trust me, this step is worth the wait! The dough will be much easier to handle after chilling.
Baking the Cookies:
Now that our dough is chilled and ready to go, it’s time to bake these colorful treats! Make sure your oven is preheated and your baking sheets are prepared.
- Preheat Oven: Preheat your oven to 375°F (190°C). Make sure your oven is properly preheated before you start baking, as this will ensure that the cookies bake evenly.
- Prepare Baking Sheets: Line baking sheets with parchment paper or silicone baking mats. This will prevent the cookies from sticking to the baking sheets and make cleanup a breeze.
- Scoop and Shape the Dough: Remove the chilled dough from the refrigerator. Using a cookie scoop or a spoon, scoop out rounded tablespoons of dough and place them onto the prepared baking sheets, leaving about 2 inches between each cookie. You can roll the dough into balls if you prefer a more uniform shape.
- Decorate (Optional): If desired, sprinkle the cookies with sanding sugar or sprinkles before baking. This will add a festive touch and extra sweetness. You can also use different colors of sanding sugar to match the Jell-O flavor you used.
- Bake: Bake for 8-10 minutes, or until the edges of the cookies are lightly golden brown. Keep a close eye on them, as they can burn easily. The baking time will vary depending on your oven, so start checking them at 8 minutes.
- Cool: Remove the baking sheets from the oven and let the cookies cool on the baking sheets for a few minutes before transferring them to a wire rack to cool completely. This will prevent them from breaking apart while they are still warm and soft.
Tips and Variations:
These Jell-O cookies are incredibly versatile, and there are so many ways to customize them to your liking. Here are a few tips and variations to get you started:
- Flavor Combinations: Experiment with different Jell-O flavors to create unique and exciting cookies. Strawberry, lime, orange, and grape are all great options. You can even mix and match Jell-O flavors to create your own signature cookie.
- Add-Ins: Get creative with add-ins! Chocolate chips, chopped nuts, shredded coconut, or even dried fruit can add extra texture and flavor to your cookies. Just be sure not to add too much, as this can affect the consistency of the dough.
- Frosting: For an extra special treat, frost the cooled cookies with a simple buttercream frosting or a glaze. You can tint the frosting to match the Jell-O flavor you used.
- Cookie Cutters: Roll out the chilled dough and use cookie cutters to create fun and festive shapes. This is a great way to make these cookies for holidays or special occasions.
- Storage: Store the cooled cookies in an airtight container at room temperature for up to 3 days. They can also be frozen for longer storage.
- Gluten-Free Option: To make these cookies gluten-free, simply substitute the all-purpose flour with a gluten-free all-purpose flour blend. Be sure to use a blend that contains xanthan gum, as this will help to bind the dough together.
- Vegan Option: To make these cookies vegan, substitute the butter with a vegan butter alternative, the egg with a flax egg (1 tablespoon of ground flaxseed mixed with 3 tablespoons of water), and ensure your Jell-O is a vegan alternative.
Troubleshooting:
Sometimes, things don’t go exactly as planned in the kitchen. Here are a few common problems you might encounter when making Jell-O cookies and how to fix them:
- Cookies are Spreading Too Much: If your cookies are spreading too much during baking, it could be because the dough wasn’t chilled long enough, or your oven temperature is too low. Make sure to chill the dough for at least 30 minutes and double-check your oven temperature.
- Cookies are Too Dry: If your cookies are too dry, it could be because you overbaked them, or you used too much flour. Be sure to bake the cookies for the recommended time and measure your flour accurately.
- Cookies are Too Tough: If your cookies are too tough, it could be because you overmixed the dough. Be careful not to overmix the dough, as this can develop the gluten in the flour and lead to tough cookies.
- Cookies are Sticking to the Baking Sheet: If your cookies are sticking to the baking sheet, make sure to line the baking sheet with parchment paper or a silicone baking mat.
Enjoy!
I hope you enjoy making and eating these delicious Jell-O cookies! They’re a fun and easy treat that’s perfect for any occasion. Don’t be afraid to experiment with different flavors and add-ins to create your own unique variations. Happy baking!
Conclusion:
So, there you have it! These Jello cookies are truly a must-try for anyone looking for a fun, colorful, and incredibly delicious treat. From their vibrant appearance to their melt-in-your-mouth texture, they’re guaranteed to be a hit with kids and adults alike. I know I’ve already made several batches, and they disappear faster than I can bake them!
But what makes these cookies so special? It’s the perfect combination of simplicity and flavor. The recipe is incredibly easy to follow, even for beginner bakers, and the Jello adds a unique twist that you won’t find in your average cookie. The subtle fruity notes complement the buttery sweetness beautifully, creating a taste sensation that’s both comforting and exciting. Plus, the vibrant colors make them perfect for parties, holidays, or just a cheerful afternoon snack.
And the best part? You can easily customize these cookies to suit your own preferences. Feel free to experiment with different Jello flavors to create your own signature combinations. Strawberry Jello for a classic, sweet treat? Lime Jello for a tangy, refreshing bite? Or maybe even a mix of flavors for a truly unique experience! The possibilities are endless.
Beyond the Jello itself, consider adding other mix-ins to elevate your cookies even further. Chocolate chips, chopped nuts, sprinkles, or even a drizzle of melted white chocolate can all add extra layers of flavor and texture. For a festive touch, try adding red and green sprinkles during the holidays, or pastel-colored sprinkles for a springtime celebration.
When it comes to serving, these Jello cookies are incredibly versatile. They’re perfect on their own with a glass of milk or a cup of coffee. You can also crumble them over ice cream or yogurt for a delightful dessert topping. For a more sophisticated presentation, try sandwiching them with a layer of buttercream frosting or cream cheese filling.
If you’re looking for a fun and creative baking project, these Jello cookies are definitely the answer. They’re a guaranteed crowd-pleaser, and they’re so easy to make that you’ll be whipping up batches in no time. I promise, once you try them, you’ll be hooked!
So, what are you waiting for? Grab your ingredients, preheat your oven, and get ready to bake some magic! I’m confident that you’ll love these cookies as much as I do. And don’t forget to share your creations with me! I’d love to see your variations and hear about your experiences. Tag me in your photos on social media, or leave a comment below to let me know how they turned out. Happy baking! I can’t wait to hear all about your Jello cookie adventures. I’m sure you’ll find that these cookies are not only delicious but also a fantastic way to add a little bit of joy and color to your day. Remember to have fun with it and don’t be afraid to get creative! After all, baking is all about experimenting and discovering new and exciting flavors. Enjoy!
Jello Cookies: The Ultimate Guide to Baking Fun & Delicious Treats
Fun and colorful Jell-O cookies that are soft, chewy, and bursting with flavor! Customize with your favorite Jell-O flavor and add-ins for a unique treat.
Ingredients
- 1 box (3 ounces) Jell-O gelatin, any flavor
- 1/2 cup (1 stick) unsalted butter, softened
- 1/2 cup granulated sugar
- 1/4 cup vegetable oil
- 1 large egg
- 1 teaspoon vanilla extract
- 2 cups all-purpose flour
- 1 teaspoon baking powder
- 1/4 teaspoon salt
- Optional: sanding sugar or sprinkles, for decorating
Instructions
- Cream Butter and Sugar: In a large mixing bowl, cream together the softened butter and granulated sugar until light and fluffy (3-5 minutes with an electric mixer).
- Add Oil, Egg, and Vanilla: Add the vegetable oil, egg, and vanilla extract to the bowl. Mix until well combined.
- Incorporate Jell-O: Add the entire box of Jell-O gelatin powder to the wet ingredients. Mix on low speed until evenly distributed.
- Combine Dry Ingredients: In a separate medium bowl, whisk together the all-purpose flour, baking powder, and salt.
- Add Dry to Wet: Gradually add the dry ingredients to the wet ingredients, mixing on low speed until just combined. Do not overmix.
- Chill Dough: Cover the dough with plastic wrap and refrigerate for at least 30 minutes (or up to an hour).
- Preheat Oven: Preheat oven to 375°F (190°C).
- Prepare Baking Sheets: Line baking sheets with parchment paper or silicone baking mats.
- Scoop and Shape: Scoop rounded tablespoons of dough onto prepared baking sheets, leaving 2 inches between each cookie. Roll into balls if desired.
- Decorate (Optional): Sprinkle with sanding sugar or sprinkles before baking.
- Bake: Bake for 8-10 minutes, or until the edges are lightly golden brown.
- Cool: Let the cookies cool on the baking sheets for a few minutes before transferring them to a wire rack to cool completely.
Notes
- Experiment with different Jell-O flavors and add-ins like chocolate chips, nuts, or coconut.
- Frost cooled cookies with buttercream or glaze.
- Use cookie cutters for festive shapes.
- Store in an airtight container at room temperature for up to 3 days, or freeze for longer storage.
- Gluten-Free Option: Substitute all-purpose flour with a gluten-free all-purpose flour blend (containing xanthan gum).
- Vegan Option: Substitute butter with vegan butter, egg with a flax egg (1 tbsp ground flaxseed + 3 tbsp water), and use a vegan Jell-O alternative.
- Troubleshooting:
- Spreading Too Much: Chill dough longer, check oven temperature.
- Too Dry: Don’t overbake, measure flour accurately.
- Too Tough: Don’t overmix the dough.
- Sticking: Use parchment paper or a silicone mat.