Sweet Potato Honey Biscuits, a delightful twist on a classic comfort food, are about to become your new favorite baking project! Imagine sinking your teeth into a warm, fluffy biscuit, subtly sweet and boasting a tender crumb. These aren’t your average biscuits; they’re infused with the earthy sweetness of sweet potato and the golden touch of honey, creating a flavor profile that’s both comforting and surprisingly sophisticated.
While the exact origins of sweet potato biscuits are a bit hazy, they’re deeply rooted in Southern American culinary tradition. Sweet potatoes, a staple crop in the South, have long been incorporated into both savory and sweet dishes. Biscuits, a quick bread leavened with baking powder or baking soda, were a natural pairing. The addition of honey elevates the sweetness and adds a beautiful depth of flavor.
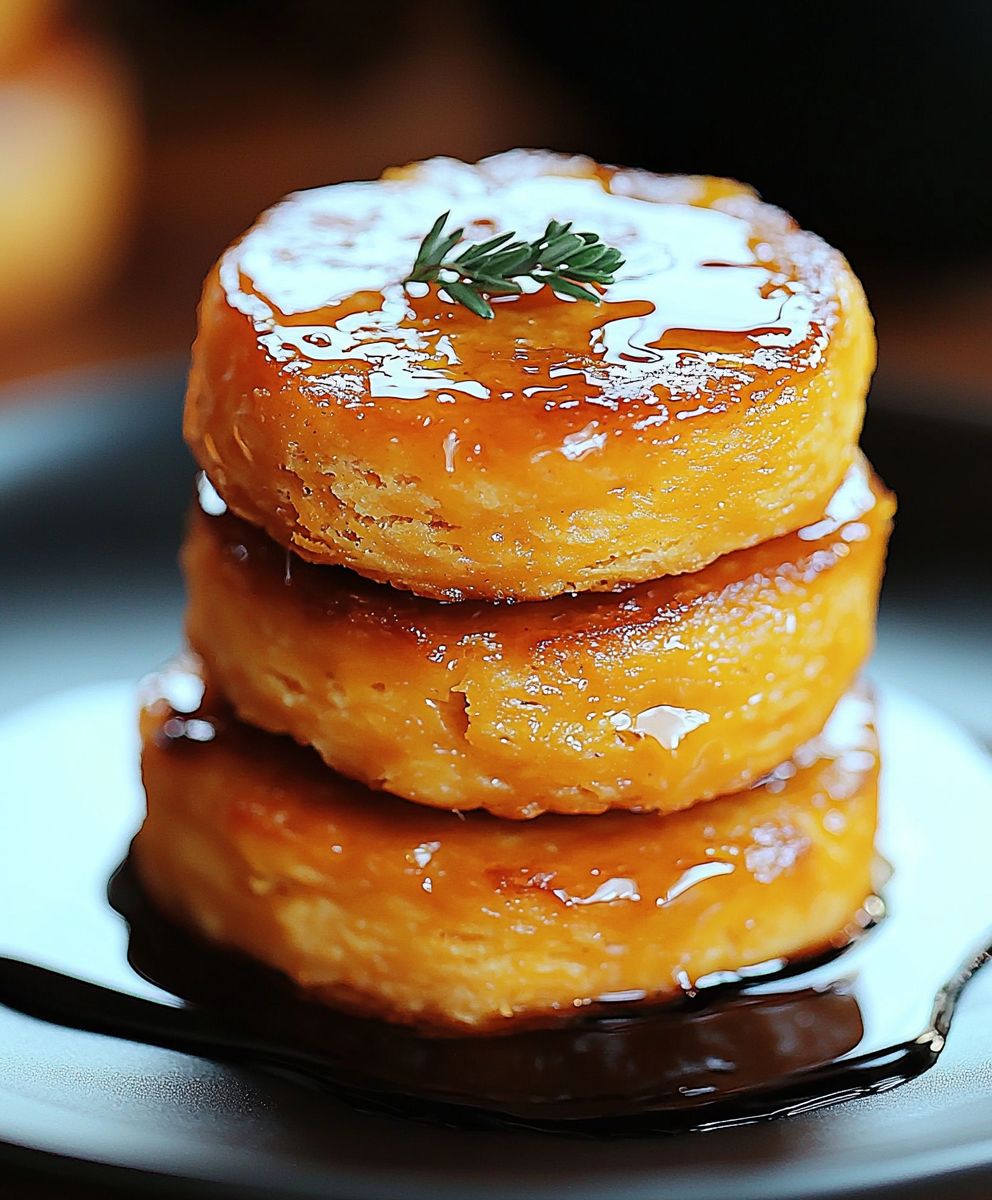
People adore these Sweet Potato Honey Biscuits for so many reasons. The subtle sweetness makes them incredibly versatile perfect alongside a hearty breakfast, as a side dish with dinner, or even as a sweet treat with a smear of butter and a drizzle of honey. The texture is also a major draw; they’re incredibly soft and tender, practically melting in your mouth. And let’s be honest, who can resist the warm, comforting aroma of freshly baked biscuits wafting through the kitchen? Get ready to experience biscuit bliss!

Ingredients:
- For the Sweet Potato Puree:
- 1 large sweet potato (about 1 pound), scrubbed
- For the Biscuits:
- 2 1/2 cups all-purpose flour, plus more for dusting
- 1 tablespoon baking powder
- 1/2 teaspoon baking soda
- 1 teaspoon salt
- 1/2 cup (1 stick) cold unsalted butter, cut into 1/2-inch cubes
- 1/4 cup cold vegetable shortening, cut into small pieces
- 1/2 cup sweet potato puree (from above)
- 1/4 cup honey
- 3/4 cup cold buttermilk, plus more for brushing
- For the Honey Butter Glaze (Optional):
- 2 tablespoons unsalted butter, melted
- 1 tablespoon honey
Preparing the Sweet Potato Puree:
- Roast the Sweet Potato: Preheat your oven to 400°F (200°C). Place the scrubbed sweet potato directly on the oven rack. Bake for 45-60 minutes, or until the sweet potato is very soft and easily pierced with a fork. The cooking time will depend on the size of your sweet potato.
- Cool and Scoop: Remove the sweet potato from the oven and let it cool slightly until you can handle it. Cut the sweet potato in half lengthwise and scoop out the flesh into a bowl.
- Mash or Puree: Mash the sweet potato flesh with a fork until smooth. For an even smoother puree, you can use an immersion blender or food processor. You’ll need 1/2 cup for the biscuit recipe. If you have extra, you can save it for another use (it’s great in soups or as a side dish!).
Making the Biscuit Dough:
- Combine Dry Ingredients: In a large bowl, whisk together the flour, baking powder, baking soda, and salt. Make sure everything is well combined to ensure even rising.
- Cut in the Fat: Add the cold butter and vegetable shortening to the flour mixture. Using a pastry blender or your fingertips, cut the fat into the flour until the mixture resembles coarse crumbs. This is a crucial step for creating flaky biscuits, so make sure the butter and shortening stay cold! If you’re using your fingertips, work quickly to prevent the fat from melting. You should have some pea-sized pieces of butter remaining.
- Whisk Wet Ingredients: In a separate bowl, whisk together the sweet potato puree, honey, and buttermilk. Make sure the sweet potato puree is fully incorporated into the buttermilk mixture.
- Combine Wet and Dry: Pour the wet ingredients into the bowl with the dry ingredients. Using a wooden spoon or spatula, gently stir until just combined. Be careful not to overmix the dough, as this will result in tough biscuits. The dough will be shaggy and slightly sticky, and that’s perfectly fine!
- Turn Out and Knead (Gently!): Lightly flour a clean work surface. Turn the dough out onto the floured surface. Gently pat the dough into a rectangle about 1 inch thick.
- Laminate the Dough: This is where the magic happens! Fold the dough in thirds, like you’re folding a letter. Turn the dough 90 degrees and pat it back into a 1-inch thick rectangle. Repeat this folding and patting process 3-4 times. This creates layers of butter within the dough, which will result in those beautiful, flaky biscuits. Be gentle and avoid overworking the dough.
- Pat and Cut: After the final fold, gently pat the dough into a 3/4-inch to 1-inch thick rectangle. Use a 2 1/2-inch biscuit cutter (or a sharp knife) to cut out the biscuits. Press straight down with the cutter; avoid twisting, as this will seal the edges and prevent the biscuits from rising properly.
- Arrange on Baking Sheet: Place the biscuits on a baking sheet lined with parchment paper. Arrange them so they are just touching each other. This will help them rise higher.
- Chill (Optional but Recommended): For even flakier biscuits, cover the baking sheet with plastic wrap and chill the biscuits in the refrigerator for at least 30 minutes, or up to 2 hours. This allows the butter to firm up again, which will create more steam and lift during baking.
Baking the Biscuits:
- Preheat Oven: Preheat your oven to 450°F (232°C). Make sure your oven is fully preheated before baking the biscuits.
- Brush with Buttermilk: Brush the tops of the biscuits with a little buttermilk. This will help them brown nicely.
- Bake: Bake for 15-20 minutes, or until the biscuits are golden brown and have risen nicely. Keep an eye on them, as baking times may vary depending on your oven.
- Cool Slightly: Remove the biscuits from the oven and let them cool on the baking sheet for a few minutes before transferring them to a wire rack to cool completely (or serve warm!).
Honey Butter Glaze (Optional):
- Melt Butter: In a small bowl, melt the butter in the microwave or in a saucepan over low heat.
- Stir in Honey: Stir in the honey until well combined.
- Brush on Biscuits: While the biscuits are still warm, brush them with the honey butter glaze. This will add a touch of sweetness and shine.
Tips for Success:
- Keep Ingredients Cold: The key to flaky biscuits is cold ingredients. Make sure your butter, shortening, and buttermilk are all very cold. You can even chill your flour for 30 minutes before using it.
- Don’t Overmix: Overmixing the dough will develop the gluten and result in tough biscuits. Mix just until the ingredients are combined.
- Handle Gently: Be gentle when handling the dough. Avoid pressing down too hard or stretching it too much.
- Use a Sharp Biscuit Cutter: A sharp biscuit cutter will create clean edges that will help the biscuits rise properly.
- Bake at a High Temperature: Baking the biscuits at a high temperature will create steam and lift, resulting in tall, flaky biscuits.
- Experiment with Flavors: Feel free to add other flavors to your biscuits, such as cinnamon, nutmeg, or herbs.
- Storage: Store leftover biscuits in an airtight container at room temperature for up to 2 days. You can also freeze them for longer storage. To reheat, wrap the biscuits in foil and bake in a preheated oven at 350°F (175°C) for 10-15 minutes.
Variations:
- Savory Biscuits: Omit the honey from the biscuit dough and add 1/2 cup of shredded cheddar cheese or chopped fresh herbs.
- Spicy Biscuits: Add 1/4 teaspoon of cayenne pepper to the biscuit dough for a touch of heat.
- Maple Glaze: Substitute maple syrup for the honey in the honey butter glaze.
Serving Suggestions:
- Serve warm with butter and honey.
- Use as a base for breakfast sandwiches.
- Serve alongside soup or chili.
- Make mini biscuits and serve as appetizers.
Conclusion:
And there you have it! These Sweet Potato Honey Biscuits are more than just a side; they’re a warm, comforting hug on a plate. I truly believe this recipe is a must-try for anyone who appreciates the simple pleasures of homemade baking. The subtle sweetness of the sweet potato, perfectly balanced by the floral notes of honey, creates a flavor profile that’s both unique and utterly irresistible. They’re incredibly easy to make, even for novice bakers, and the aroma that fills your kitchen while they’re baking is pure bliss.
But why are these biscuits so special? It’s the combination of textures, the slight chewiness, the tender crumb, and that hint of sweetness that elevates them beyond your average biscuit. They’re not just good; they’re memorable. They’re the kind of biscuits that people will ask you to make again and again.
Now, let’s talk about serving suggestions. These Sweet Potato Honey Biscuits are incredibly versatile. They’re fantastic served warm with a pat of butter, of course. But don’t stop there! Imagine them alongside a hearty bowl of chili or stew, soaking up all those delicious flavors. They’re also amazing with pulled pork or BBQ chicken, adding a touch of sweetness to balance the savory.
For breakfast, try splitting one open and topping it with a fried egg and a drizzle of hot sauce. Or, for a sweeter treat, spread them with cream cheese and a dollop of your favorite jam. They’re even delicious on their own, straight from the oven!
And if you’re feeling adventurous, here are a few variations you might want to try:
* Spice it up: Add a pinch of cinnamon, nutmeg, or ginger to the dry ingredients for a warm, autumnal flavor.
* Go nutty: Incorporate chopped pecans or walnuts for added texture and a nutty taste.
* Add some zest: A little orange or lemon zest will brighten the flavor and add a citrusy note.
* Savory twist: Mix in some shredded cheddar cheese and chopped chives for a savory biscuit that’s perfect with soup or salad.
* Honey Butter Bliss: Whip up a batch of honey butter to serve alongside. Simply combine softened butter with honey and a pinch of salt.
I’m confident that once you try this recipe, you’ll be hooked. It’s a simple, satisfying, and delicious way to bring a little bit of homemade goodness into your life. These Sweet Potato Honey Biscuits are perfect for any occasion, from a casual weeknight dinner to a special holiday gathering.
So, what are you waiting for? Preheat your oven, gather your ingredients, and get baking! I’m so excited for you to experience the joy of making and enjoying these delightful biscuits.
And most importantly, I’d love to hear about your experience! Did you try any of the variations? What did you serve them with? What did your family and friends think? Please share your photos and comments in the comments section below. I can’t wait to see what you create! Happy baking! I hope you enjoy making these Sweet Potato Honey Biscuits as much as I do!
Sweet Potato Honey Biscuits: The Ultimate Recipe & Baking Guide
Flaky and tender sweet potato biscuits with a hint of honey, perfect for breakfast, brunch, or as a side.
Ingredients
- 1 large sweet potato (about 1 pound), scrubbed
- 2 1/2 cups all-purpose flour, plus more for dusting
- 1 tablespoon baking powder
- 1/2 teaspoon baking soda
- 1 teaspoon salt
- 1/2 cup (1 stick) cold unsalted butter, cut into 1/2-inch cubes
- 1/4 cup cold vegetable shortening, cut into small pieces
- 1/2 cup sweet potato puree (from above)
- 1/4 cup honey
- 3/4 cup cold buttermilk, plus more for brushing
- 2 tablespoons unsalted butter, melted
- 1 tablespoon honey
Instructions
- Preheat your oven to 400°F (200°C). Place the scrubbed sweet potato directly on the oven rack. Bake for 45-60 minutes, or until the sweet potato is very soft and easily pierced with a fork. The cooking time will depend on the size of your sweet potato.
- Remove the sweet potato from the oven and let it cool slightly until you can handle it. Cut the sweet potato in half lengthwise and scoop out the flesh into a bowl.
- Mash the sweet potato flesh with a fork until smooth. For an even smoother puree, you can use an immersion blender or food processor. You’ll need 1/2 cup for the biscuit recipe. If you have extra, you can save it for another use (it’s great in soups or as a side dish!).
- In a large bowl, whisk together the flour, baking powder, baking soda, and salt. Make sure everything is well combined to ensure even rising.
- Add the cold butter and vegetable shortening to the flour mixture. Using a pastry blender or your fingertips, cut the fat into the flour until the mixture resembles coarse crumbs. This is a crucial step for creating flaky biscuits, so make sure the butter and shortening stay cold! If you’re using your fingertips, work quickly to prevent the fat from melting. You should have some pea-sized pieces of butter remaining.
- In a separate bowl, whisk together the sweet potato puree, honey, and buttermilk. Make sure the sweet potato puree is fully incorporated into the buttermilk mixture.
- Pour the wet ingredients into the bowl with the dry ingredients. Using a wooden spoon or spatula, gently stir until just combined. Be careful not to overmix the dough, as this will result in tough biscuits. The dough will be shaggy and slightly sticky, and that’s perfectly fine!
- Lightly flour a clean work surface. Turn the dough out onto the floured surface. Gently pat the dough into a rectangle about 1 inch thick.
- Fold the dough in thirds, like you’re folding a letter. Turn the dough 90 degrees and pat it back into a 1-inch thick rectangle. Repeat this folding and patting process 3-4 times. This creates layers of butter within the dough, which will result in those beautiful, flaky biscuits. Be gentle and avoid overworking the dough.
- After the final fold, gently pat the dough into a 3/4-inch to 1-inch thick rectangle. Use a 2 1/2-inch biscuit cutter (or a sharp knife) to cut out the biscuits. Press straight down with the cutter; avoid twisting, as this will seal the edges and prevent the biscuits from rising properly.
- Place the biscuits on a baking sheet lined with parchment paper. Arrange them so they are just touching each other. This will help them rise higher.
- For even flakier biscuits, cover the baking sheet with plastic wrap and chill the biscuits in the refrigerator for at least 30 minutes, or up to 2 hours. This allows the butter to firm up again, which will create more steam and lift during baking.
- Preheat your oven to 450°F (232°C). Make sure your oven is fully preheated before baking the biscuits.
- Brush the tops of the biscuits with a little buttermilk. This will help them brown nicely.
- Bake for 15-20 minutes, or until the biscuits are golden brown and have risen nicely. Keep an eye on them, as baking times may vary depending on your oven.
- Remove the biscuits from the oven and let them cool on the baking sheet for a few minutes before transferring them to a wire rack to cool completely (or serve warm!).
- In a small bowl, melt the butter in the microwave or in a saucepan over low heat.
- Stir in the honey until well combined.
- While the biscuits are still warm, brush them with the honey butter glaze. This will add a touch of sweetness and shine.
Notes
- Keep Ingredients Cold: The key to flaky biscuits is cold ingredients. Make sure your butter, shortening, and buttermilk are all very cold. You can even chill your flour for 30 minutes before using it.
- Don’t Overmix: Overmixing the dough will develop the gluten and result in tough biscuits. Mix just until the ingredients are combined.
- Handle Gently: Be gentle when handling the dough. Avoid pressing down too hard or stretching it too much.
- Use a Sharp Biscuit Cutter: A sharp biscuit cutter will create clean edges that will help the biscuits rise properly.
- Bake at a High Temperature: Baking the biscuits at a high temperature will create steam and lift, resulting in tall, flaky biscuits.
- Experiment with Flavors: Feel free to add other flavors to your biscuits, such as cinnamon, nutmeg, or herbs.
- Storage: Store leftover biscuits in an airtight container at room temperature for up to 2 days. You can also freeze them for longer storage. To reheat, wrap the biscuits in foil and bake in a preheated oven at 350°F (175°C) for 10-15 minutes.