Turkish Ice Cream, or “Dondurma” as it’s known in Turkey, isn’t just a dessert; it’s an experience! Imagine a treat so chewy, stretchy, and resistant to melting that it defies everything you thought you knew about frozen delights. Have you ever seen street vendors performing gravity-defying stunts with ice cream cones, stretching the Dondurma high into the air? That’s the magic of this unique confection!
The history of Turkish Ice Cream dates back centuries, originating in the mountainous regions of Turkey. The secret lies in two key ingredients: salep, a flour made from wild orchid tubers, and mastic, a resin that adds a distinctive chewiness. These ingredients not only contribute to the unique texture but also help the ice cream withstand warmer temperatures, a necessity in the hot Turkish summers.
People adore Turkish Ice Cream for its playful texture and rich, creamy flavor. It’s more than just a sweet treat; it’s a cultural icon. The fun of watching the vendor’s performance, combined with the satisfying chewiness and delicious taste, makes it a memorable experience for anyone who tries it. Plus, its resistance to melting makes it perfect for enjoying on a warm day without the worry of a sticky mess. So, are you ready to learn how to make this incredible dessert at home? Let’s dive in!

Ingredients:
- 1 liter whole milk (full-fat is crucial!)
- 1 cup granulated sugar
- 2 tablespoons salep (sahlep) powder this is the key ingredient! Make sure it’s authentic.
- 1 teaspoon mastic gum (damla sak?z?), finely ground optional, but highly recommended for that signature stretchy texture and flavor.
Preparing the Milk Mixture:
- In a large, heavy-bottomed saucepan, combine the whole milk and granulated sugar. The heavy-bottomed pan is important to prevent scorching, so don’t skip this detail!
- Place the saucepan over medium heat. Stir constantly with a wooden spoon until the sugar is completely dissolved. You shouldn’t feel any granules at the bottom of the pan. This usually takes about 5-7 minutes.
- Once the sugar is dissolved, bring the milk mixture to a gentle simmer. Do not let it boil! Boiling can alter the texture and flavor of the ice cream. Watch it carefully and reduce the heat if necessary.
Incorporating the Salep and Mastic:
- While the milk is simmering, prepare the salep mixture. In a small bowl, whisk together the salep powder and the finely ground mastic gum (if using). It’s important to grind the mastic gum very finely, almost to a powder, otherwise it won’t dissolve properly and you’ll end up with chewy bits in your ice cream. A mortar and pestle works best for this, but you can also use a spice grinder.
- Gradually add the salep and mastic mixture to the simmering milk, whisking constantly and vigorously. Add it slowly to prevent lumps from forming. This is a crucial step, so take your time and make sure everything is well incorporated.
- Continue to simmer the mixture over low heat, stirring constantly, for about 45-60 minutes. This is where the magic happens! The salep will thicken the milk and give it that characteristic stretchy, chewy texture. The mixture will gradually become thicker and more viscous. Don’t be tempted to rush this step; the longer you simmer it, the chewier your ice cream will be. I usually aim for a consistency similar to a thick custard or pudding. You should be able to coat the back of a spoon with the mixture.
- During the simmering process, you’ll notice that the mixture starts to develop a slightly elastic quality. Keep stirring and scraping the bottom and sides of the pan to prevent sticking and burning. The mixture should be smooth and glossy.
Cooling and Churning (or Freezing):
- Once the mixture has reached the desired consistency, remove it from the heat and let it cool slightly for about 15-20 minutes. This will help prevent ice crystals from forming during the freezing process.
- Pour the cooled mixture into a clean bowl or container. Cover the surface directly with plastic wrap to prevent a skin from forming. This is important! Press the plastic wrap down so it’s touching the surface of the ice cream base.
- Refrigerate the mixture for at least 4 hours, or preferably overnight. This allows the flavors to meld and the mixture to chill completely. The colder the mixture is before churning, the smoother the ice cream will be.
Churning with an Ice Cream Maker (Recommended):
- If you have an ice cream maker, follow the manufacturer’s instructions for churning. Typically, you’ll need to pre-freeze the ice cream maker bowl for at least 24 hours.
- Pour the chilled ice cream mixture into the frozen ice cream maker bowl and churn for about 20-30 minutes, or until it reaches a soft-serve consistency. The churning process incorporates air into the mixture, making it light and fluffy.
- Transfer the churned ice cream to an airtight container and freeze for at least 2-3 hours, or until it’s firm enough to scoop. This final freezing period allows the ice cream to harden and develop its full flavor and texture.
Freezing Without an Ice Cream Maker (Alternative Method):
- If you don’t have an ice cream maker, you can still make Turkish ice cream, but it will require a bit more effort. Pour the chilled ice cream mixture into a freezer-safe container.
- Place the container in the freezer and freeze for 30 minutes.
- Remove the container from the freezer and whisk the mixture vigorously with a whisk or an electric mixer. This helps to break up any ice crystals that are forming.
- Return the container to the freezer and repeat the whisking process every 30 minutes for the first 2-3 hours. This is crucial for preventing ice crystals and creating a smoother texture.
- After the first 2-3 hours, continue freezing the ice cream until it’s firm enough to scoop, usually for another 2-3 hours.
Serving and Enjoying:
- Before serving, let the ice cream soften slightly at room temperature for about 5-10 minutes. This will make it easier to scoop.
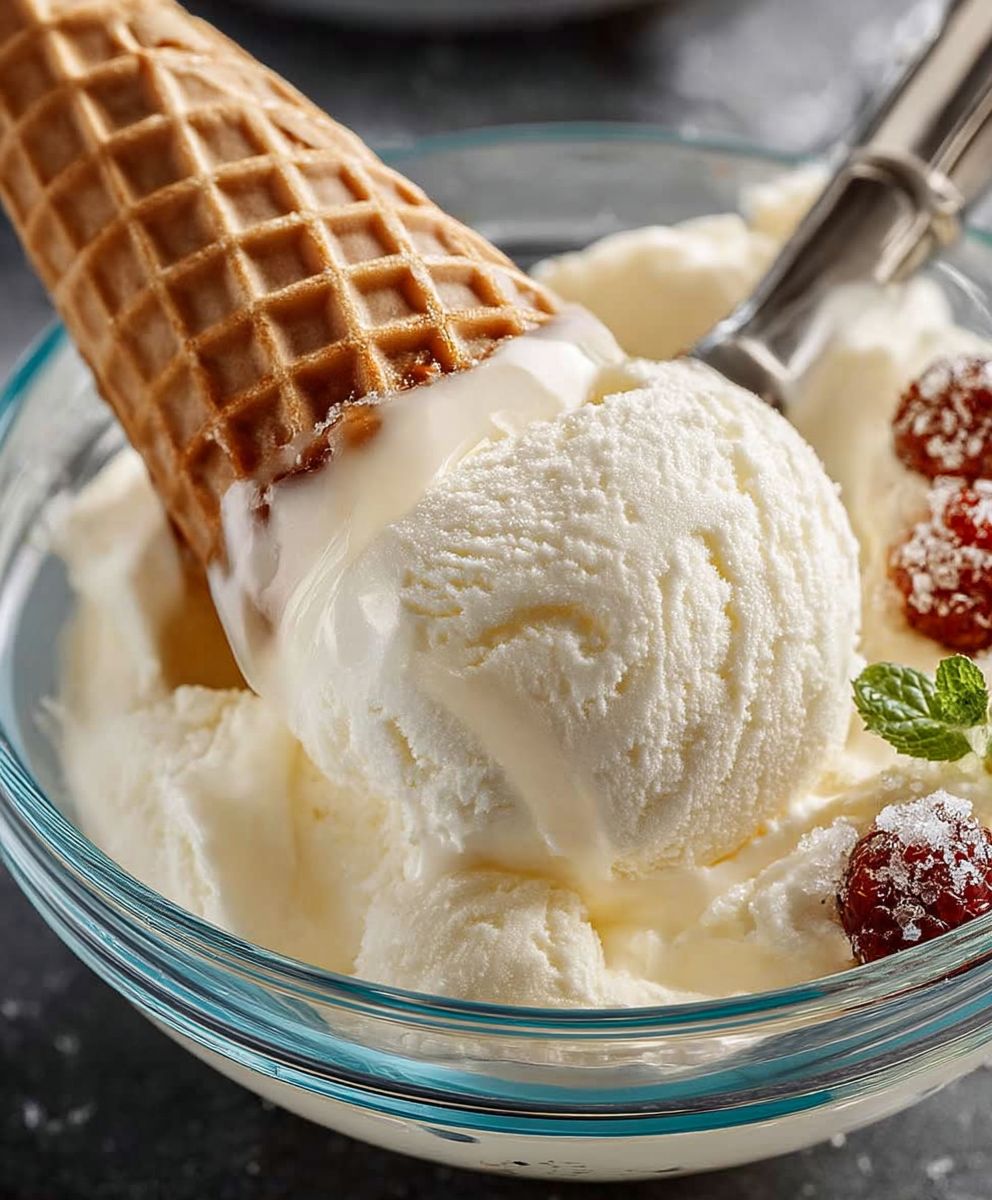
- Scoop the ice cream into bowls or cones and serve immediately. You can garnish it with chopped pistachios, shredded coconut, or a drizzle of honey, if desired.
- Enjoy the unique stretchy and chewy texture of your homemade Turkish ice cream! It’s a truly special treat.
Tips for Success:
- Authentic Salep: The key to authentic Turkish ice cream is using high-quality, authentic salep powder. Salep is a flour made from the tubers of orchids, and it’s what gives the ice cream its unique stretchy texture. Be careful when purchasing salep, as some vendors may sell substitutes or diluted versions. Look for salep that is finely ground and has a strong, floral aroma.
- Mastic Gum: Mastic gum is another important ingredient that contributes to the flavor and texture of Turkish ice cream. It has a slightly piney, resinous flavor that complements the salep beautifully. If you can’t find mastic gum, you can omit it, but the ice cream won’t be quite as authentic.
- Constant Stirring: Constant stirring is essential during the simmering process to prevent the milk from scorching and to ensure that the salep is evenly distributed. Use a wooden spoon and scrape the bottom and sides of the pan frequently.
- Patience: Making Turkish ice cream takes time and patience. Don’t rush the simmering process, as this is where the ice cream develops its characteristic texture.
- Freezing: If you’re using the no-churn method, be sure to whisk the ice cream mixture frequently during the initial freezing period to prevent ice crystals from forming.
- Storage: Store leftover ice cream in an airtight container in the freezer for up to 2 weeks. To prevent freezer burn, press a piece of plastic wrap directly onto the surface of the ice cream before sealing the container.
Troubleshooting:
- Ice Cream is Too Icy: This is usually caused by ice crystals forming during the freezing process. To prevent this, make sure to chill the ice cream mixture thoroughly before freezing, and whisk it frequently during the initial freezing period if you’re not using an ice cream maker.
- Ice Cream is Not Stretchy Enough: This could be due to using low-quality salep or not simmering the mixture long enough. Make sure to use authentic salep and simmer the mixture for at least 45-60 minutes, or until it reaches a thick, custard-like consistency.
- Ice Cream is Too Sweet: You can reduce the amount of sugar in the recipe to your liking. However, keep in mind that sugar also helps to prevent ice crystals from forming, so don’t reduce it too much.
- Ice Cream is Too Chewy: This could be due to using too much salep or simmering the mixture for too long. Reduce the amount of salep slightly or shorten the simmering time.
Conclusion:
This isn’t just ice cream; it’s an experience! From the captivating stretchy texture to the subtly sweet and slightly chewy delight, this Turkish Ice Cream recipe is a must-try for anyone looking to elevate their dessert game. It’s a conversation starter, a fun activity to make with friends and family, and, most importantly, a truly delicious treat that will leave you wanting more. I know the salep might seem like a hurdle, but trust me, the unique texture it imparts is what sets this ice cream apart from anything you’ve ever tasted. It’s worth the effort to source it out!
Think of the possibilities! While I’ve shared my classic vanilla bean version, the beauty of this recipe lies in its versatility. Imagine swirling in ribbons of homemade salted caramel, chunks of dark chocolate, or even a vibrant fruit puree like raspberry or mango. For a truly authentic Turkish experience, sprinkle some chopped pistachios on top before serving. You could even experiment with different flavor extracts like rosewater or orange blossom for a more exotic twist.
Serving suggestions are endless! Of course, it’s fantastic on its own, enjoyed straight from the freezer. But why stop there? Try serving it in a warm pita bread pocket for a traditional Turkish street food experience. Or, pair it with a slice of baklava for an incredibly decadent dessert. It also makes a wonderful accompaniment to fresh fruit salads or even as a unique topping for waffles or pancakes. For a more sophisticated presentation, try scooping it into elegant dessert glasses and garnishing with fresh mint and a dusting of cocoa powder.
Don’t be intimidated by the slightly different process. I’ve broken down each step to make it as clear and straightforward as possible. Remember, the key is to be patient and persistent with the kneading process. That’s what develops the signature stretchy texture that makes this Turkish Ice Cream so special. And don’t worry if it doesn’t look perfect the first time. Like any new skill, it takes practice. The most important thing is to have fun and enjoy the process!
I truly believe that this recipe will become a new favorite in your household. It’s a unique and memorable dessert that’s sure to impress your friends and family. So, gather your ingredients, put on some music, and get ready to embark on a culinary adventure. I can’t wait to hear about your experiences!
I’m so excited for you to try this recipe! Please, please, please let me know how it turns out. Did you make any fun variations? What did your friends and family think? Share your photos and stories in the comments below. I love seeing your creations and hearing about your experiences in the kitchen. Your feedback helps me improve my recipes and inspire other readers to try new things. So, don’t be shy! Let’s create a community of Turkish Ice Cream enthusiasts! Happy scooping!
Turkish Ice Cream: A Guide to Dondurma, the Chewy Treat
Authentic Turkish ice cream (Dondurma) with its unique stretchy and chewy texture, made with salep and mastic gum.
Ingredients
- 1 liter whole milk (full-fat)
- 1 cup granulated sugar
- 2 tablespoons salep (sahlep) powder
- 1 teaspoon mastic gum (damla sak?z?), finely ground (optional)
Instructions
- In a large, heavy-bottomed saucepan, combine the whole milk and granulated sugar.
- Place the saucepan over medium heat. Stir constantly with a wooden spoon until the sugar is completely dissolved (5-7 minutes).
- Once the sugar is dissolved, bring the milk mixture to a gentle simmer. Do not let it boil!
- While the milk is simmering, prepare the salep mixture. In a small bowl, whisk together the salep powder and the finely ground mastic gum (if using).
- Gradually add the salep and mastic mixture to the simmering milk, whisking constantly and vigorously. Add it slowly to prevent lumps from forming.
- Continue to simmer the mixture over low heat, stirring constantly, for about 45-60 minutes. The mixture will gradually become thicker and more viscous.
- During the simmering process, the mixture will start to develop a slightly elastic quality. Keep stirring and scraping the bottom and sides of the pan to prevent sticking and burning. The mixture should be smooth and glossy.
- Once the mixture has reached the desired consistency, remove it from the heat and let it cool slightly for about 15-20 minutes.
- Pour the cooled mixture into a clean bowl or container. Cover the surface directly with plastic wrap to prevent a skin from forming.
- Refrigerate the mixture for at least 4 hours, or preferably overnight.
- If you have an ice cream maker, follow the manufacturer’s instructions for churning. Typically, you’ll need to pre-freeze the ice cream maker bowl for at least 24 hours.
- Pour the chilled ice cream mixture into the frozen ice cream maker bowl and churn for about 20-30 minutes, or until it reaches a soft-serve consistency.
- Transfer the churned ice cream to an airtight container and freeze for at least 2-3 hours, or until it’s firm enough to scoop.
- If you don’t have an ice cream maker, you can still make Turkish ice cream, but it will require a bit more effort. Pour the chilled ice cream mixture into a freezer-safe container.
- Place the container in the freezer and freeze for 30 minutes.
- Remove the container from the freezer and whisk the mixture vigorously with a whisk or an electric mixer. This helps to break up any ice crystals that are forming.
- Return the container to the freezer and repeat the whisking process every 30 minutes for the first 2-3 hours. This is crucial for preventing ice crystals and creating a smoother texture.
- After the first 2-3 hours, continue freezing the ice cream until it’s firm enough to scoop, usually for another 2-3 hours.
- Before serving, let the ice cream soften slightly at room temperature for about 5-10 minutes.
- Scoop the ice cream into bowls or cones and serve immediately. You can garnish it with chopped pistachios, shredded coconut, or a drizzle of honey, if desired.
Notes
- Authentic Salep: Use high-quality, authentic salep powder.
- Mastic Gum: Mastic gum contributes to the flavor and texture. Omit if unavailable.
- Constant Stirring: Essential during simmering to prevent scorching and ensure even distribution of salep.
- Patience: Simmering is crucial for developing the characteristic texture.
- Freezing: Whisk frequently during initial freezing (no-churn method) to prevent ice crystals.
- Storage: Store leftover ice cream in an airtight container in the freezer for up to 2 weeks. Press plastic wrap onto the surface to prevent freezer burn.